Step 1 - Login
Login to HKU.HK by visiting https://www.hku.hk. Hover over the menu bar and click the “Upload a Story” button from the Quick Links. Then, sign in using your HKU Portal credentials. Once you have logged in successfully, you will be able to access the Dashboard page.
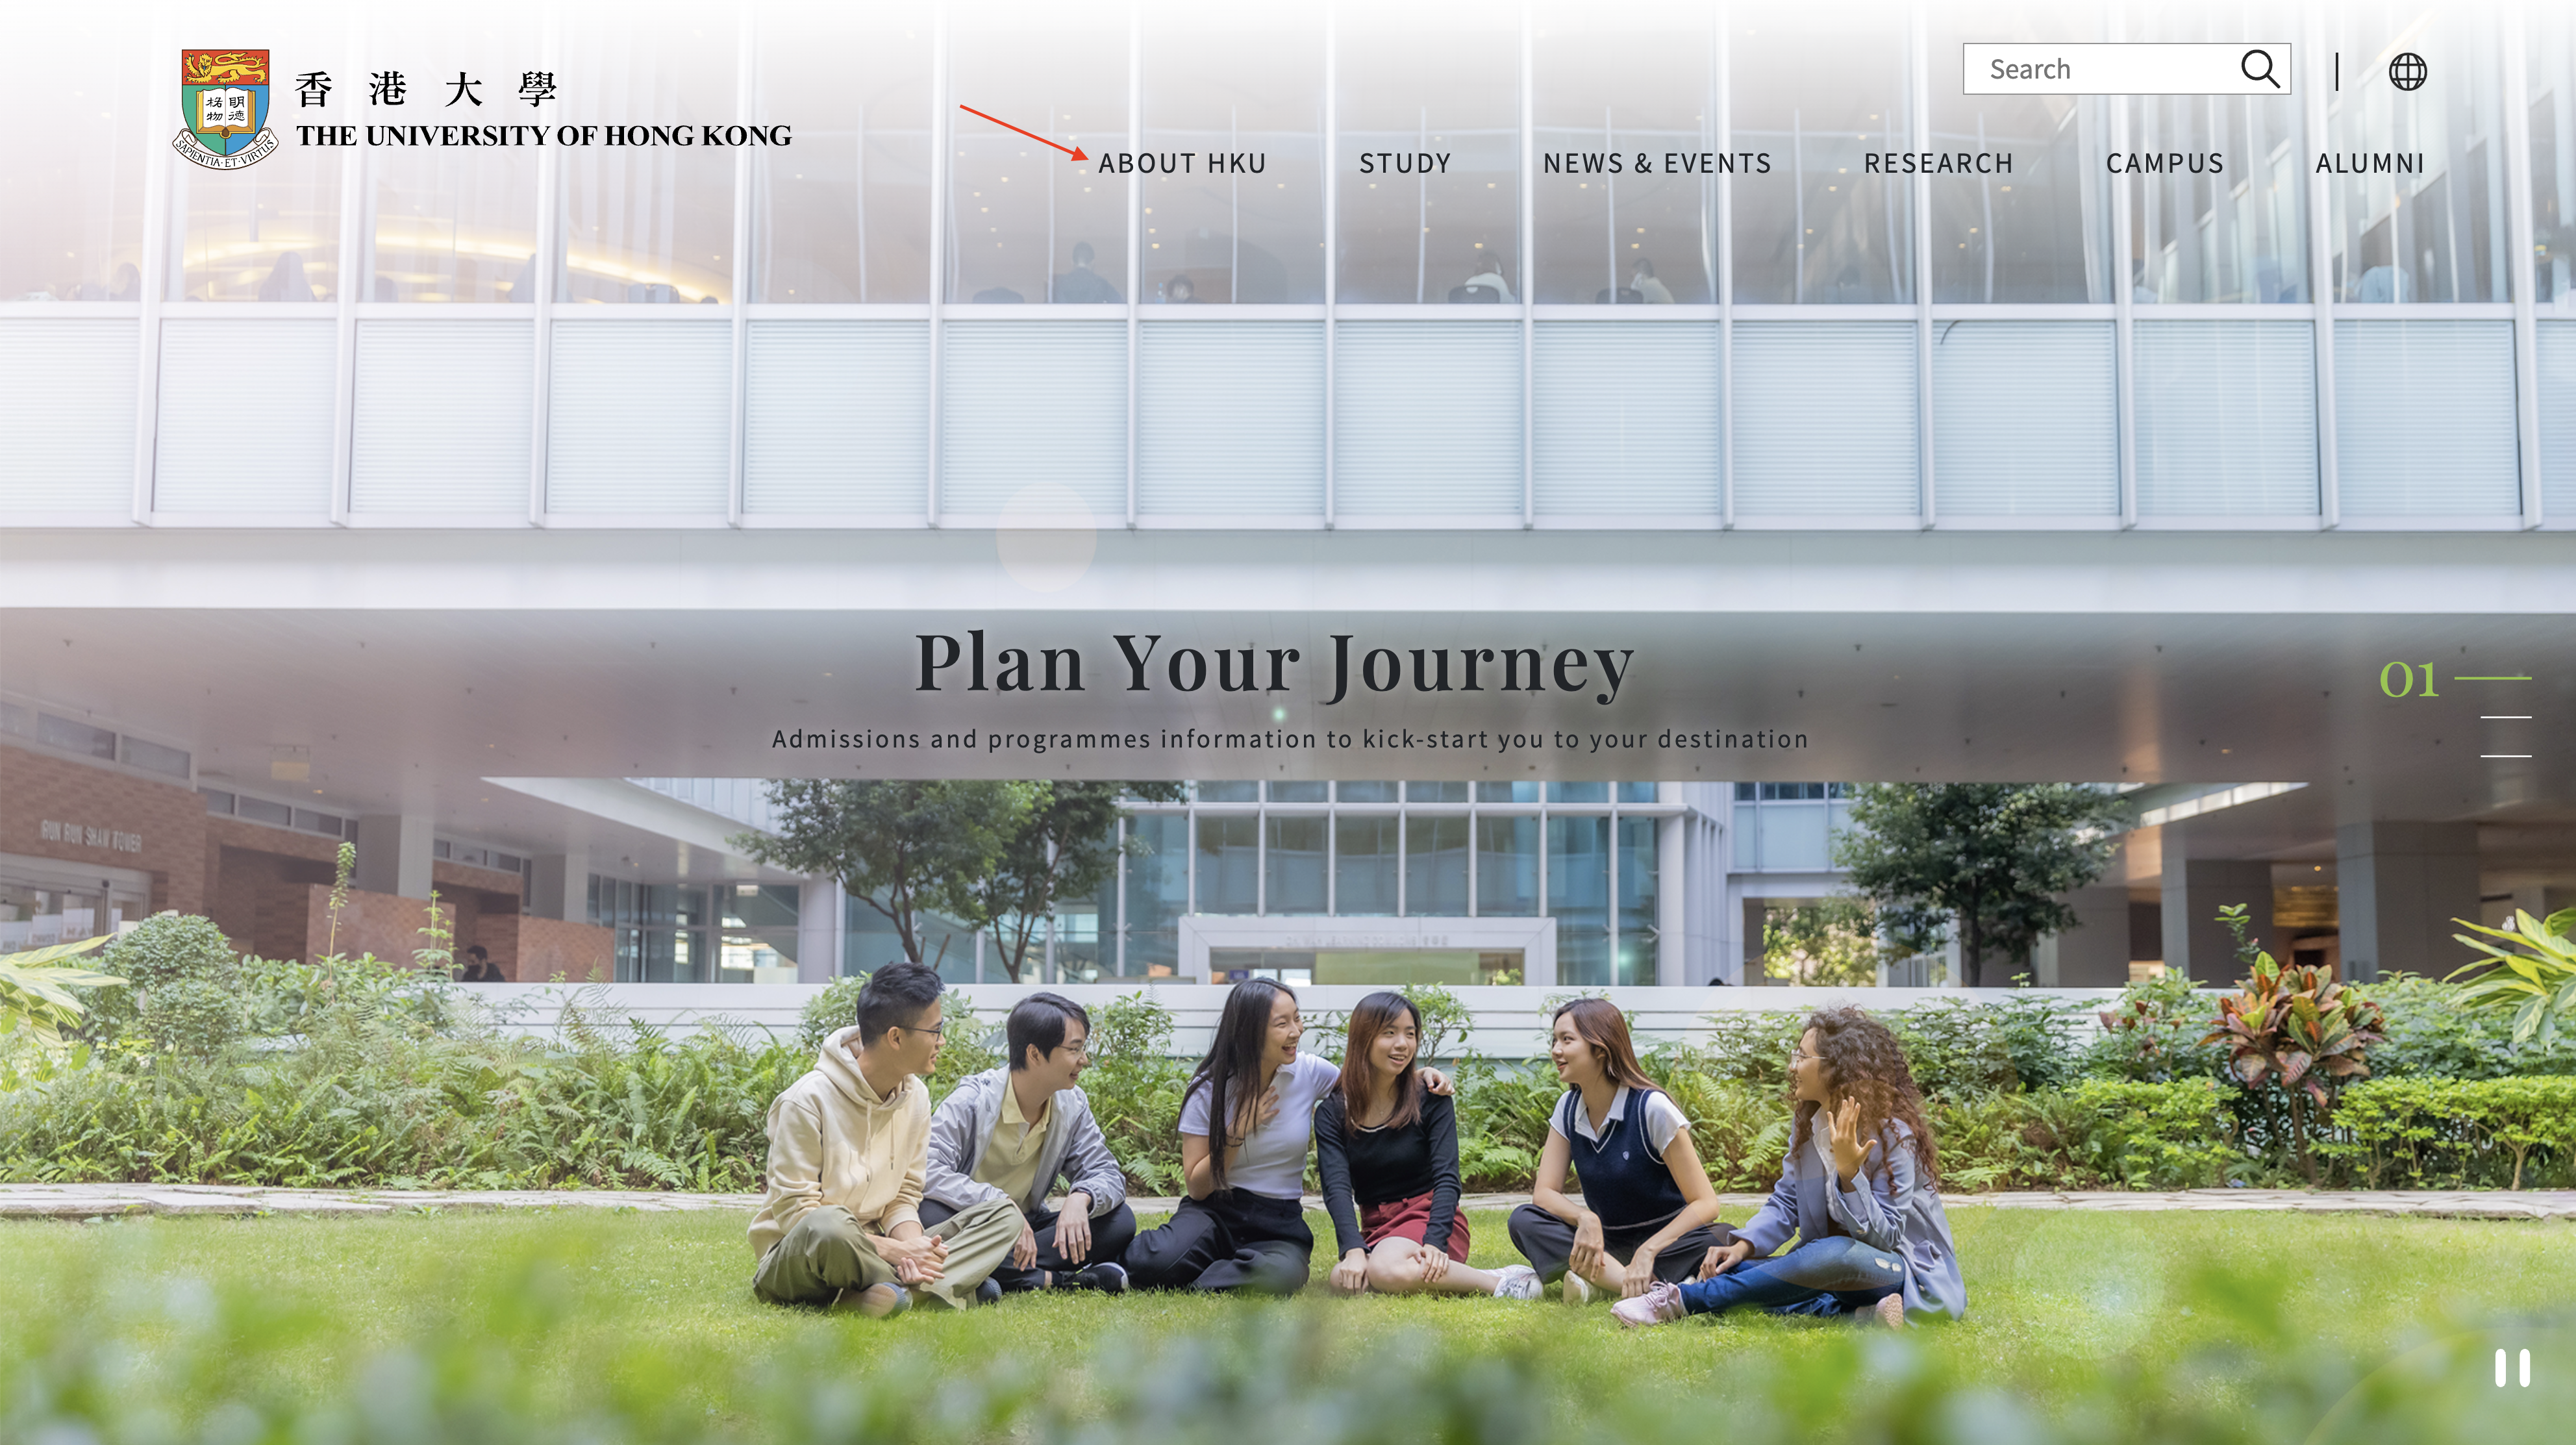
Hover over the menu bar.
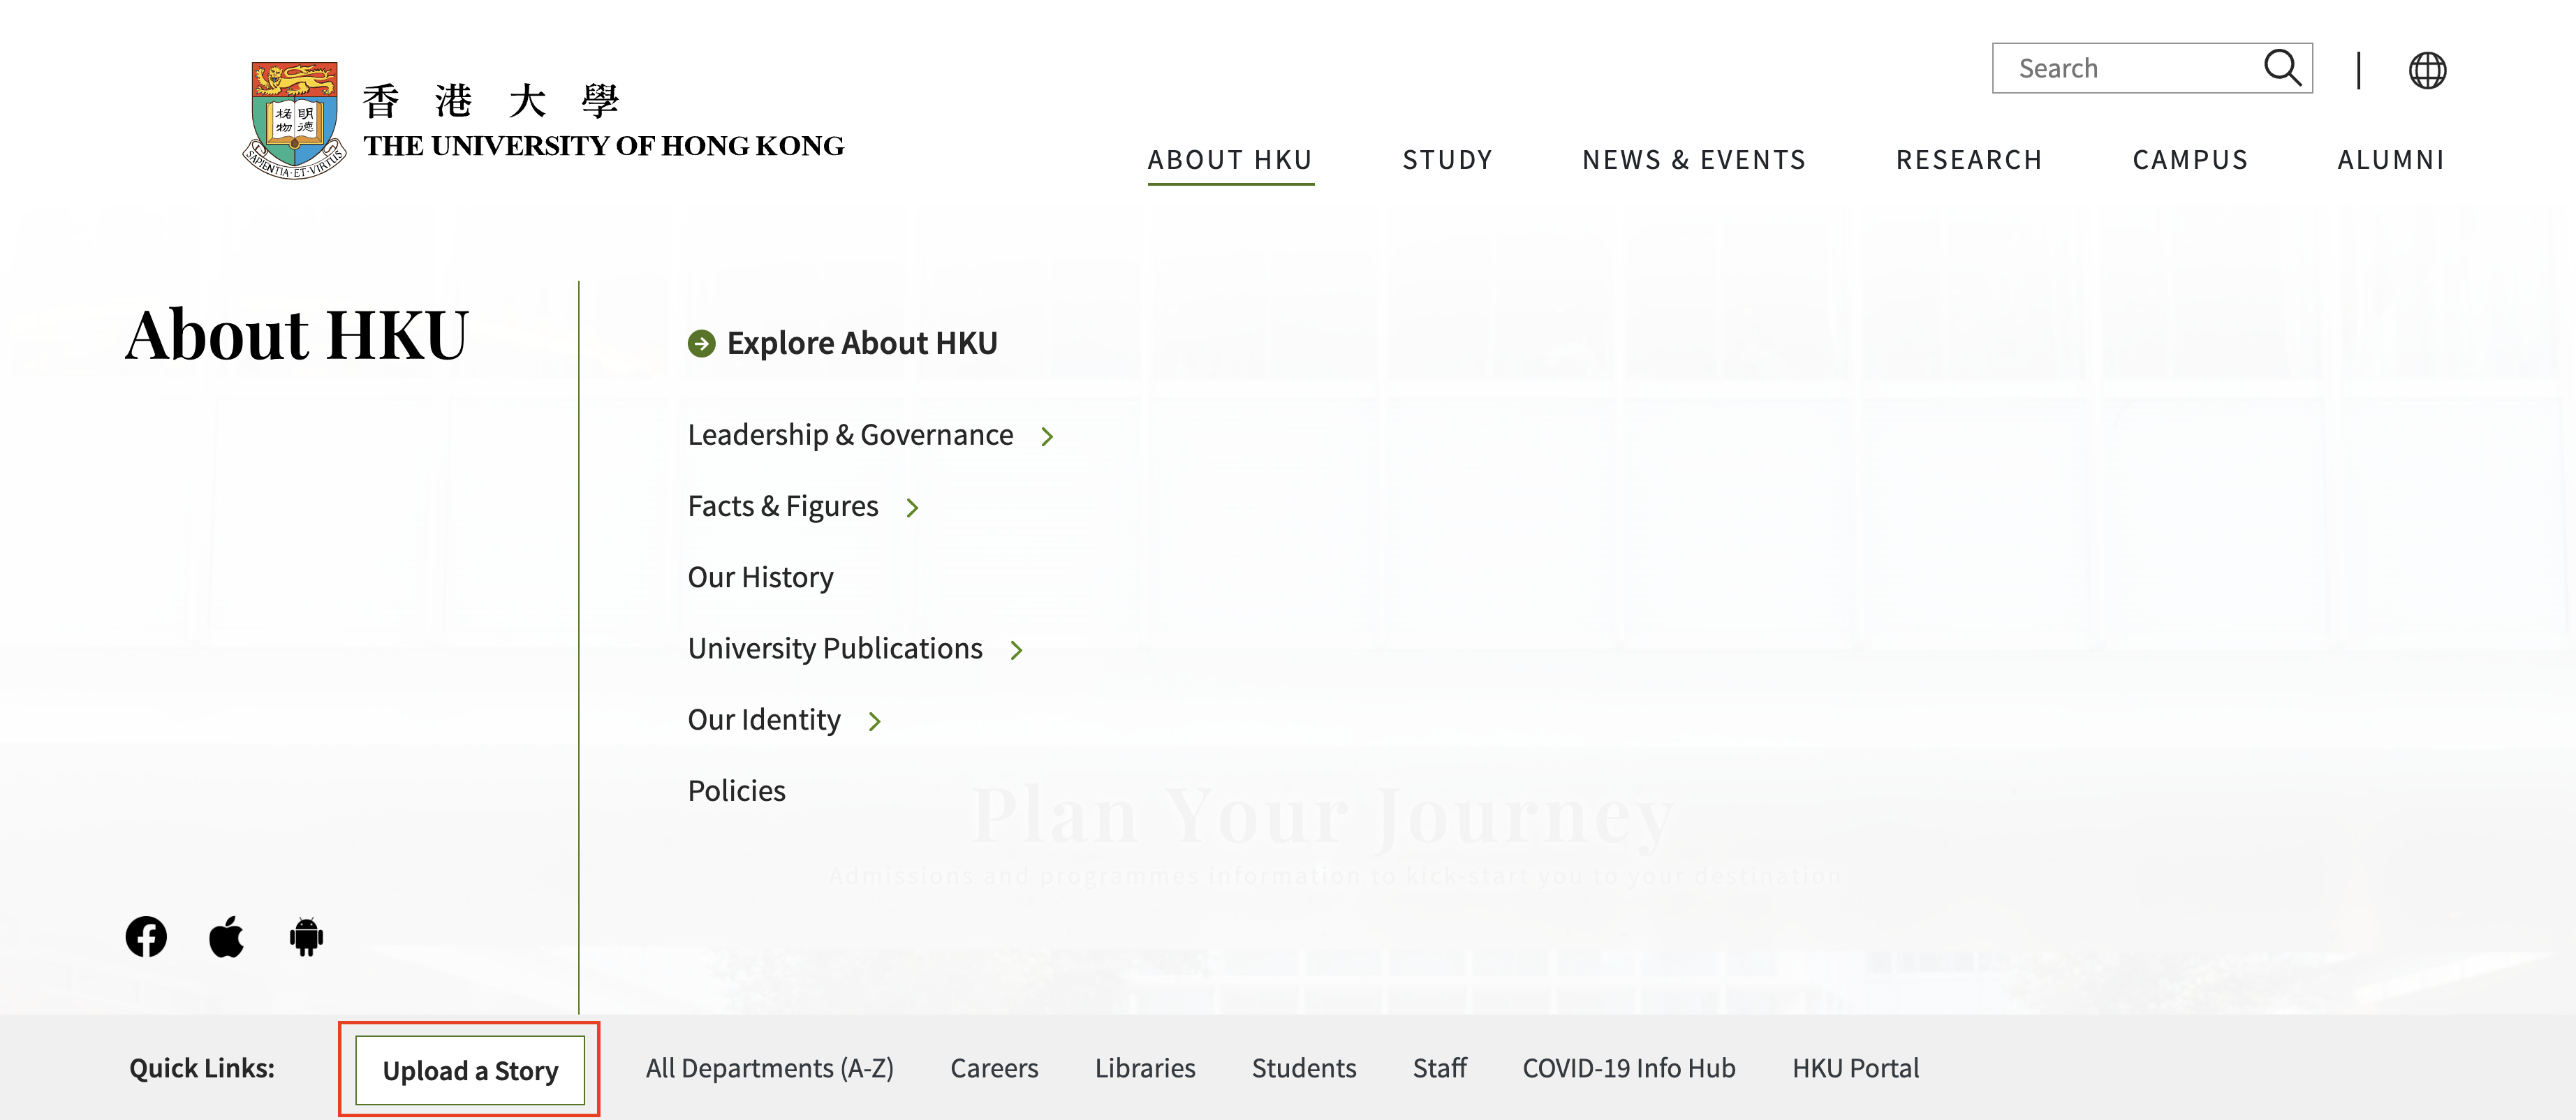
Click the “Upload a Story” button.
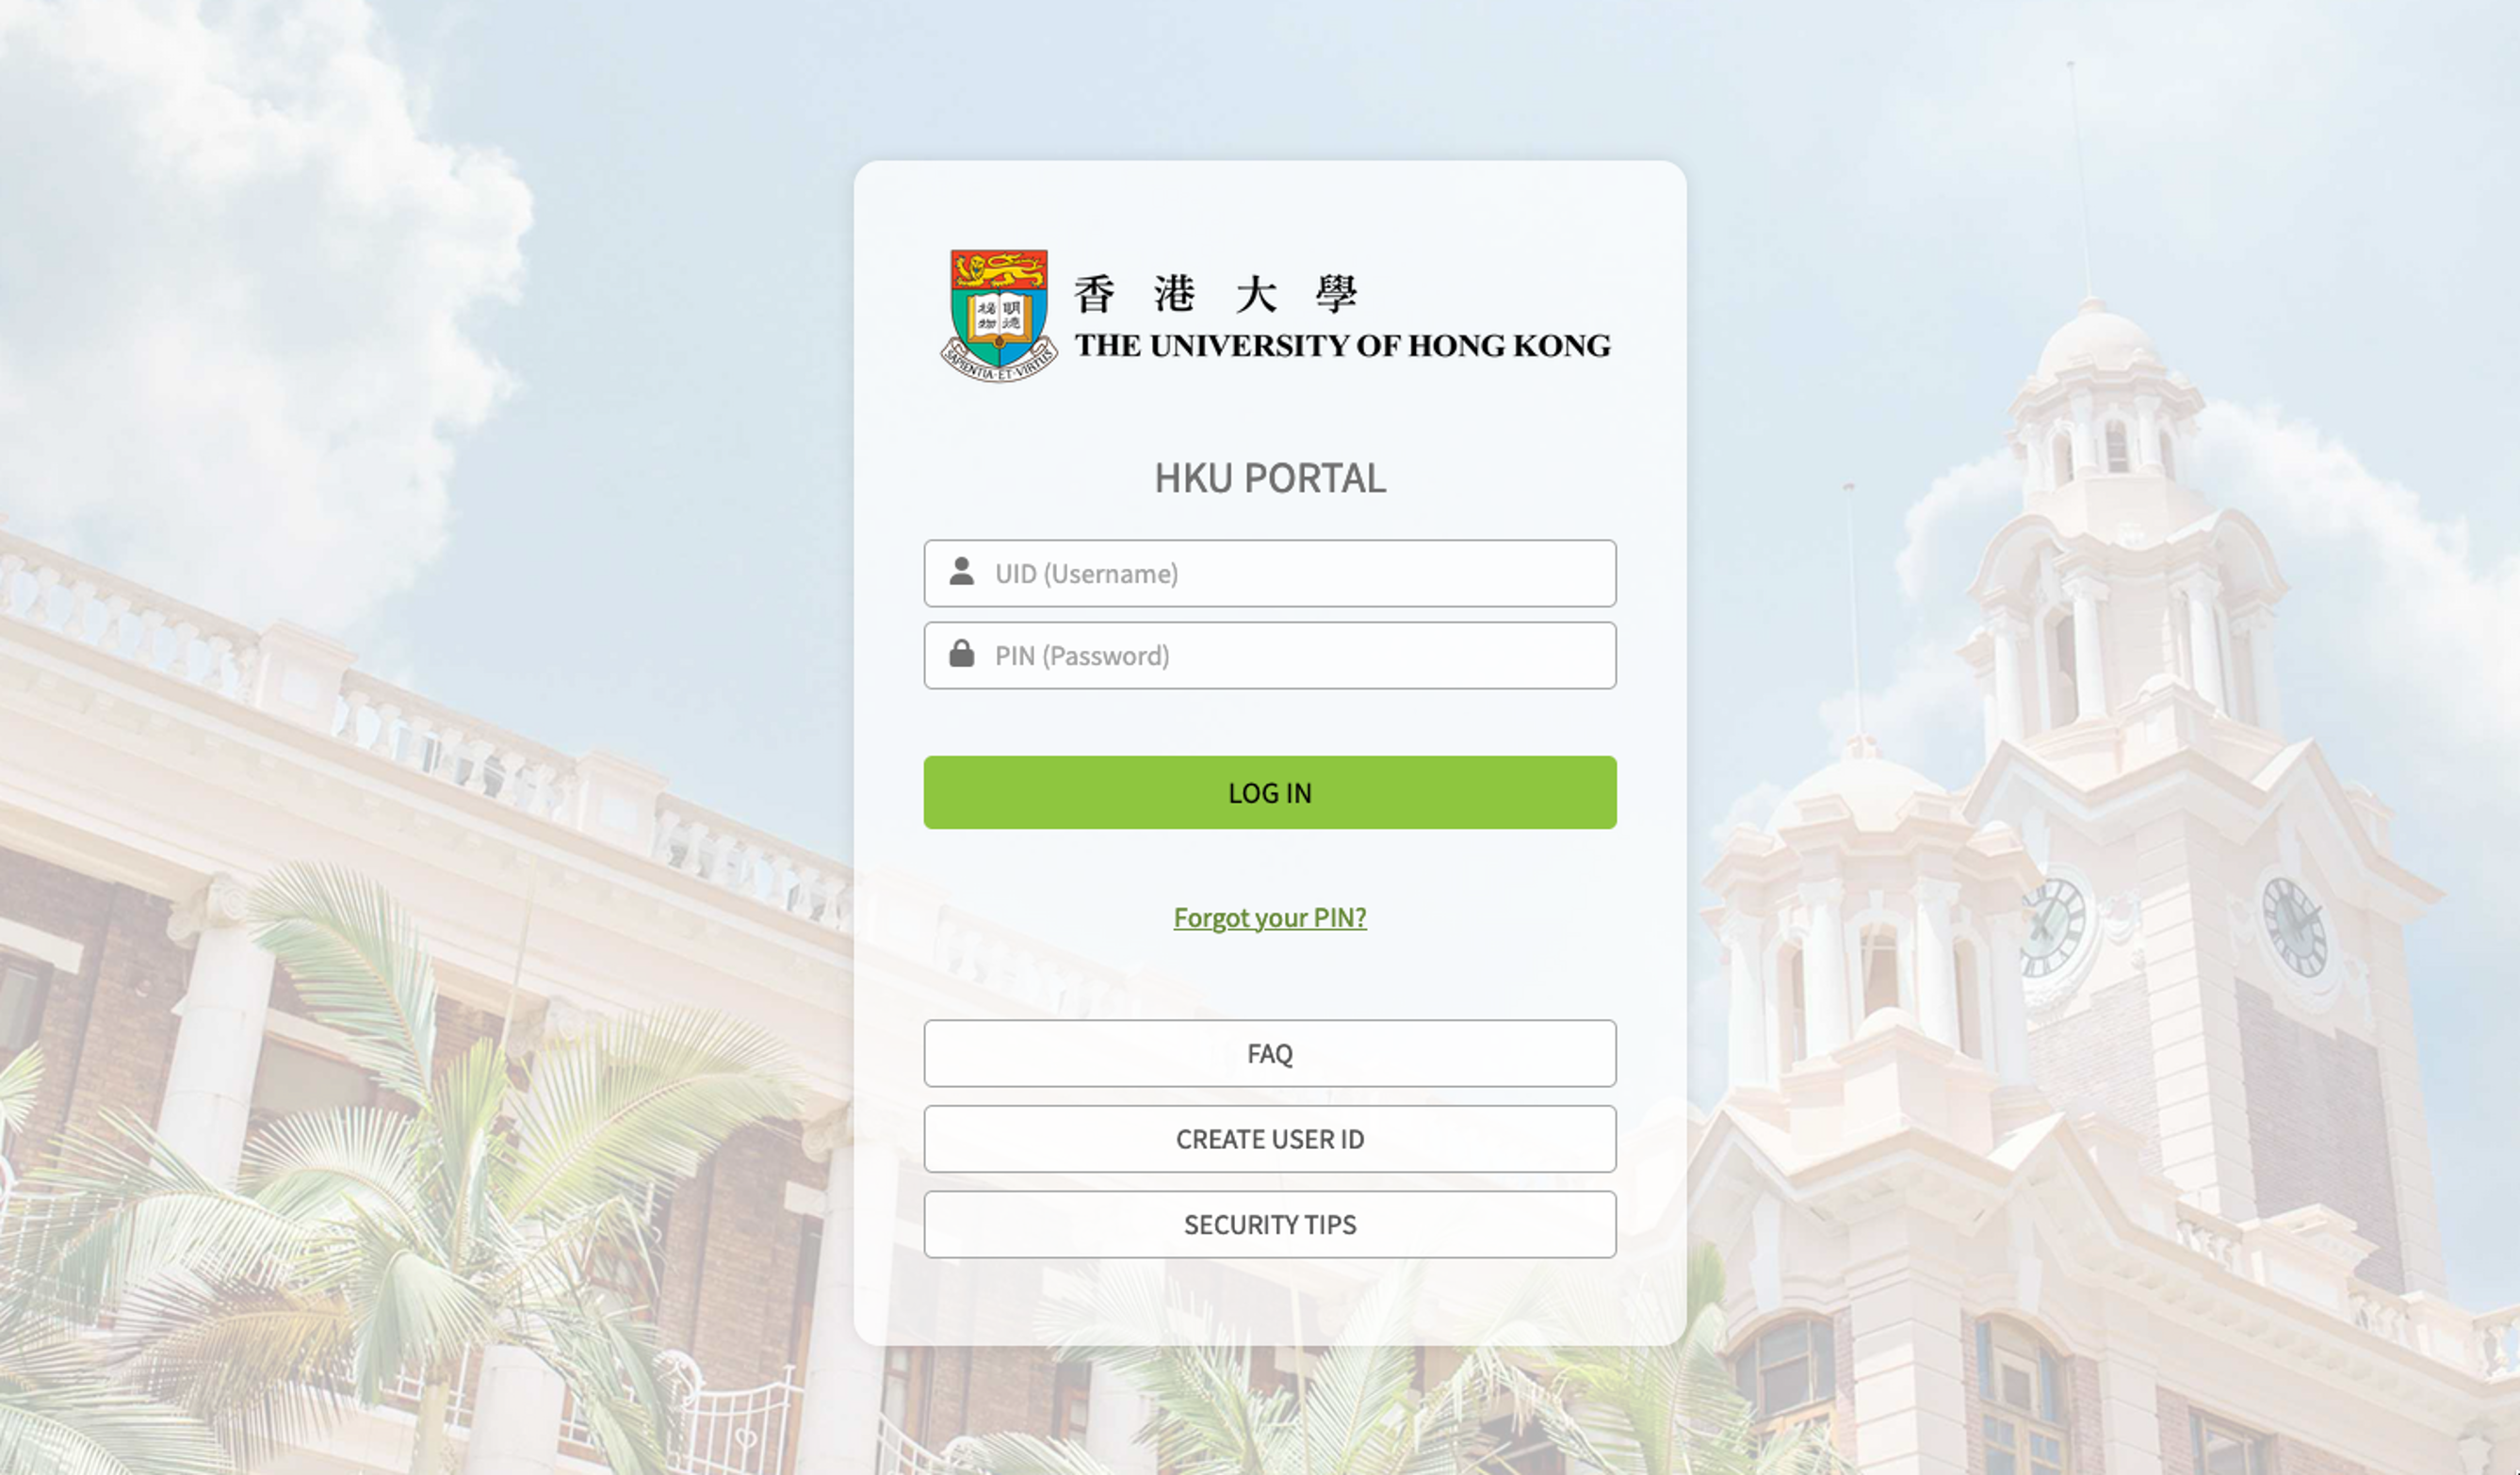
Login with your HKU Portal credentials.
Next
Step 2 - Create Event Stories
Click “My Stories”, which you will see a list of stories you have created, if any. To create a new story, click on “Create Web Story”.

Remarks: Function included in your “Dashboard” depends on your user role.
Next
Step 3 - Basic Information
Select and fill in the following basic information:

-
Type
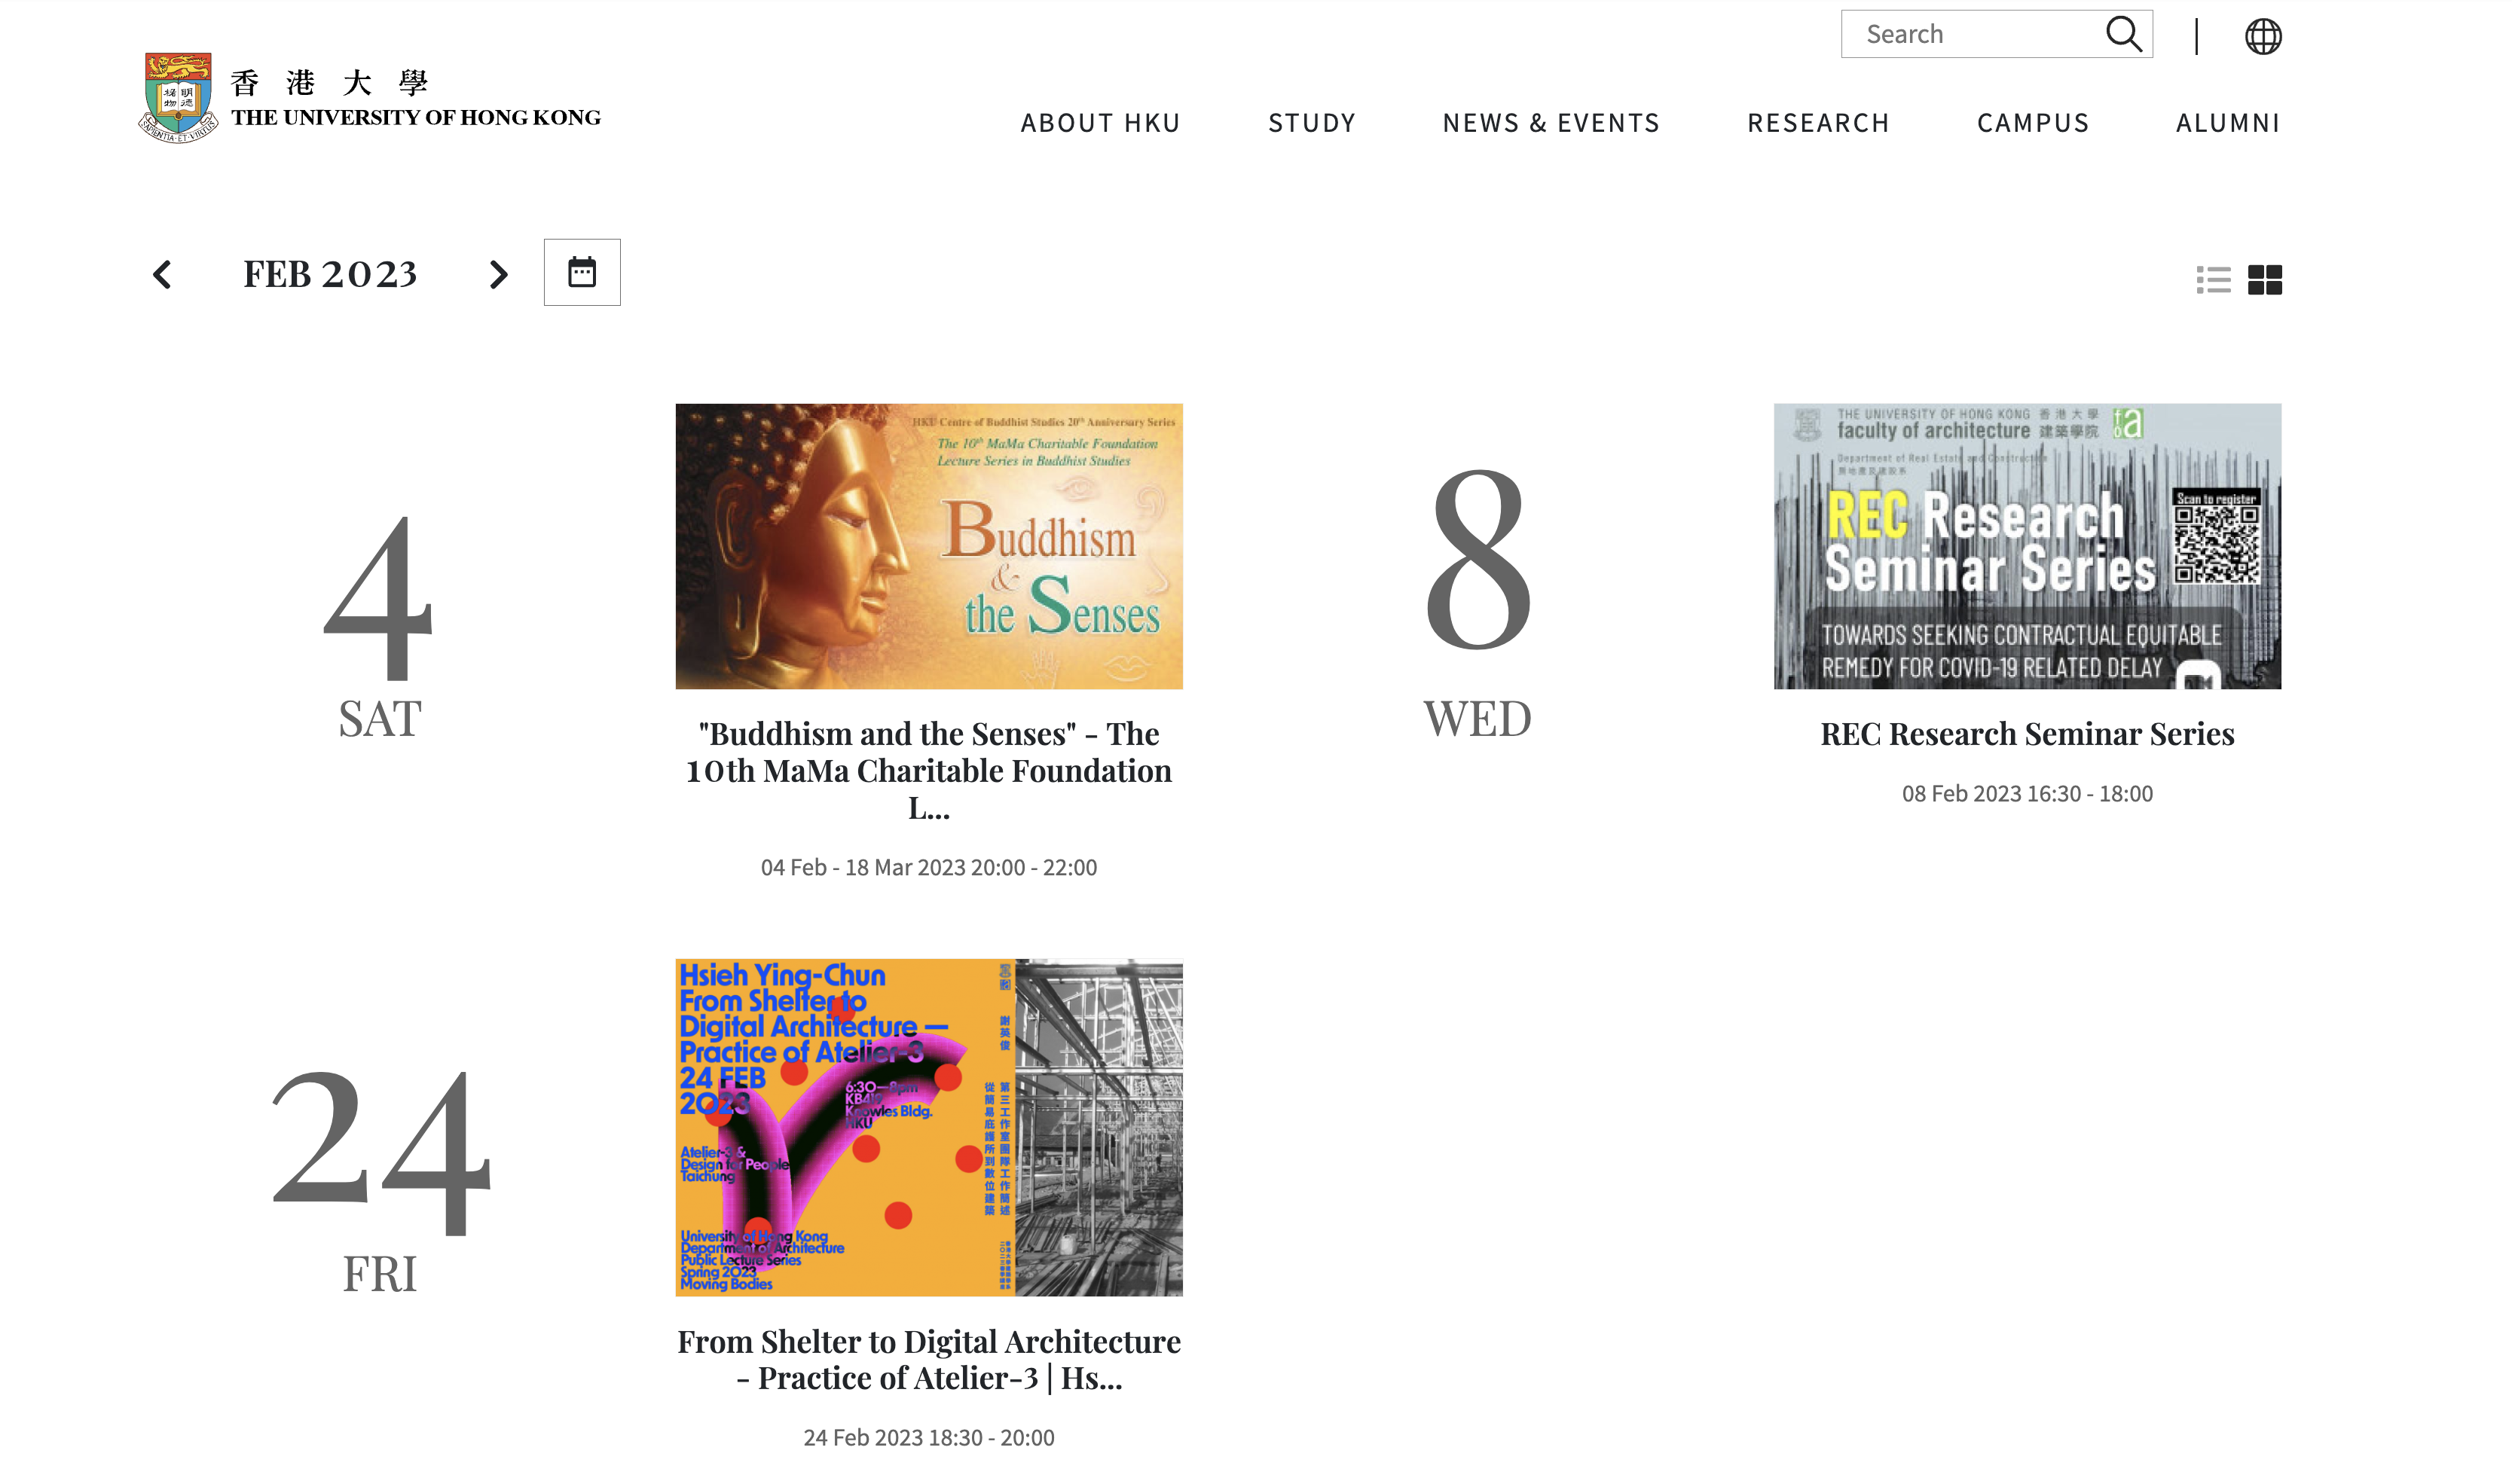
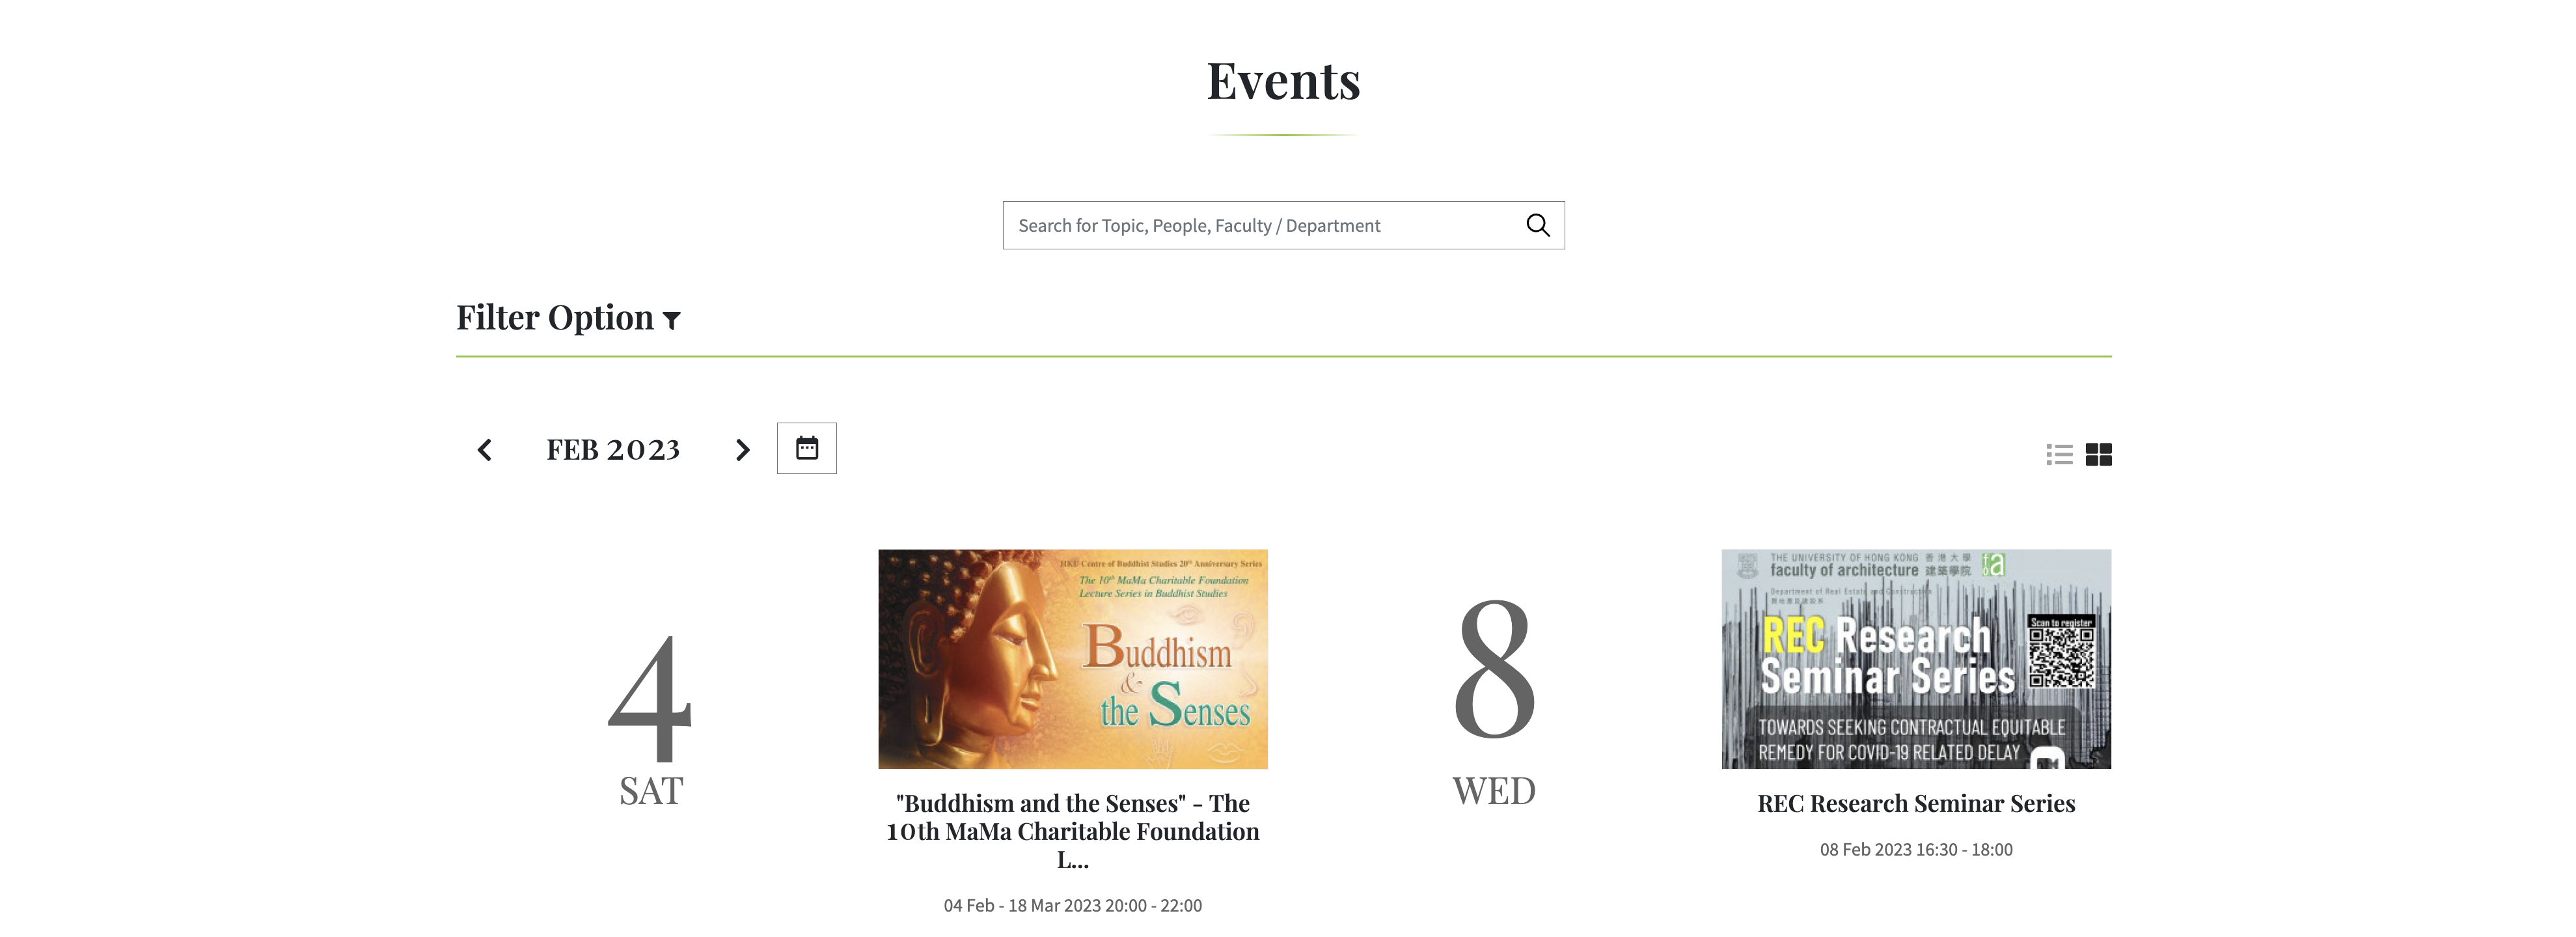
To promote upcoming events, select “Event Story”. The story will be listed in the “Events” webpage.
-
Display Date
This is the publication date to be displayed in the story.

-
Story Heading
This is limited to 80 characters maximum. You can press “Enter” to add a line break in order to follow your own alignment to be displayed in your story.

-
Summary
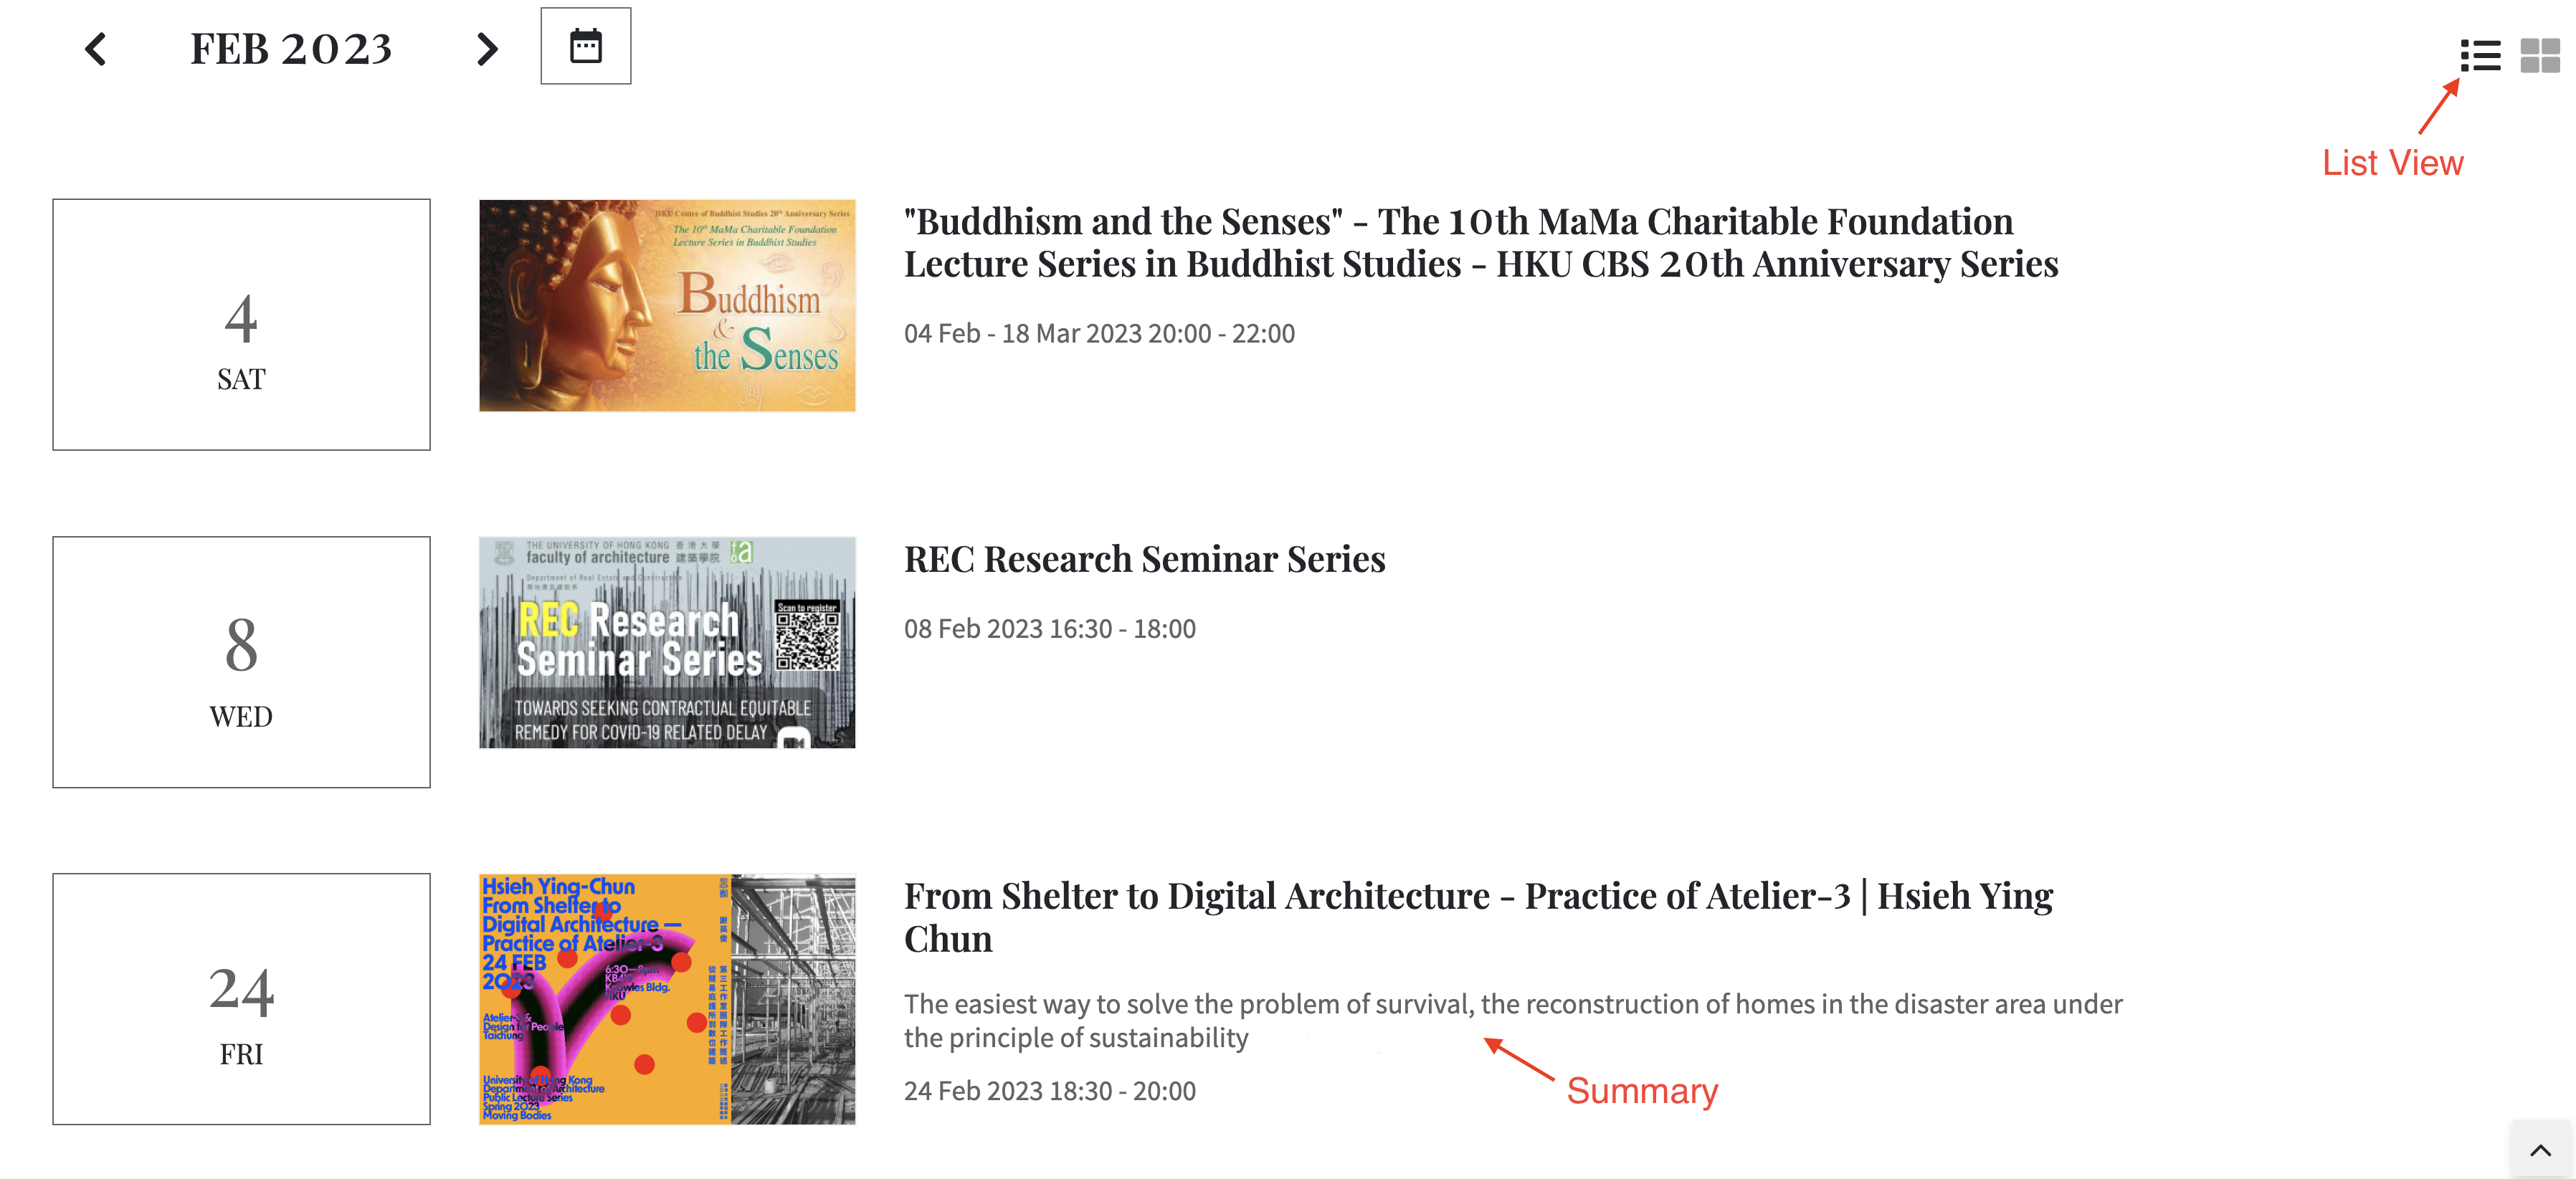
This is limited to 150 characters maximum. The summary will be displayed in the list of event stories.
-
Event Date, Area and Venue
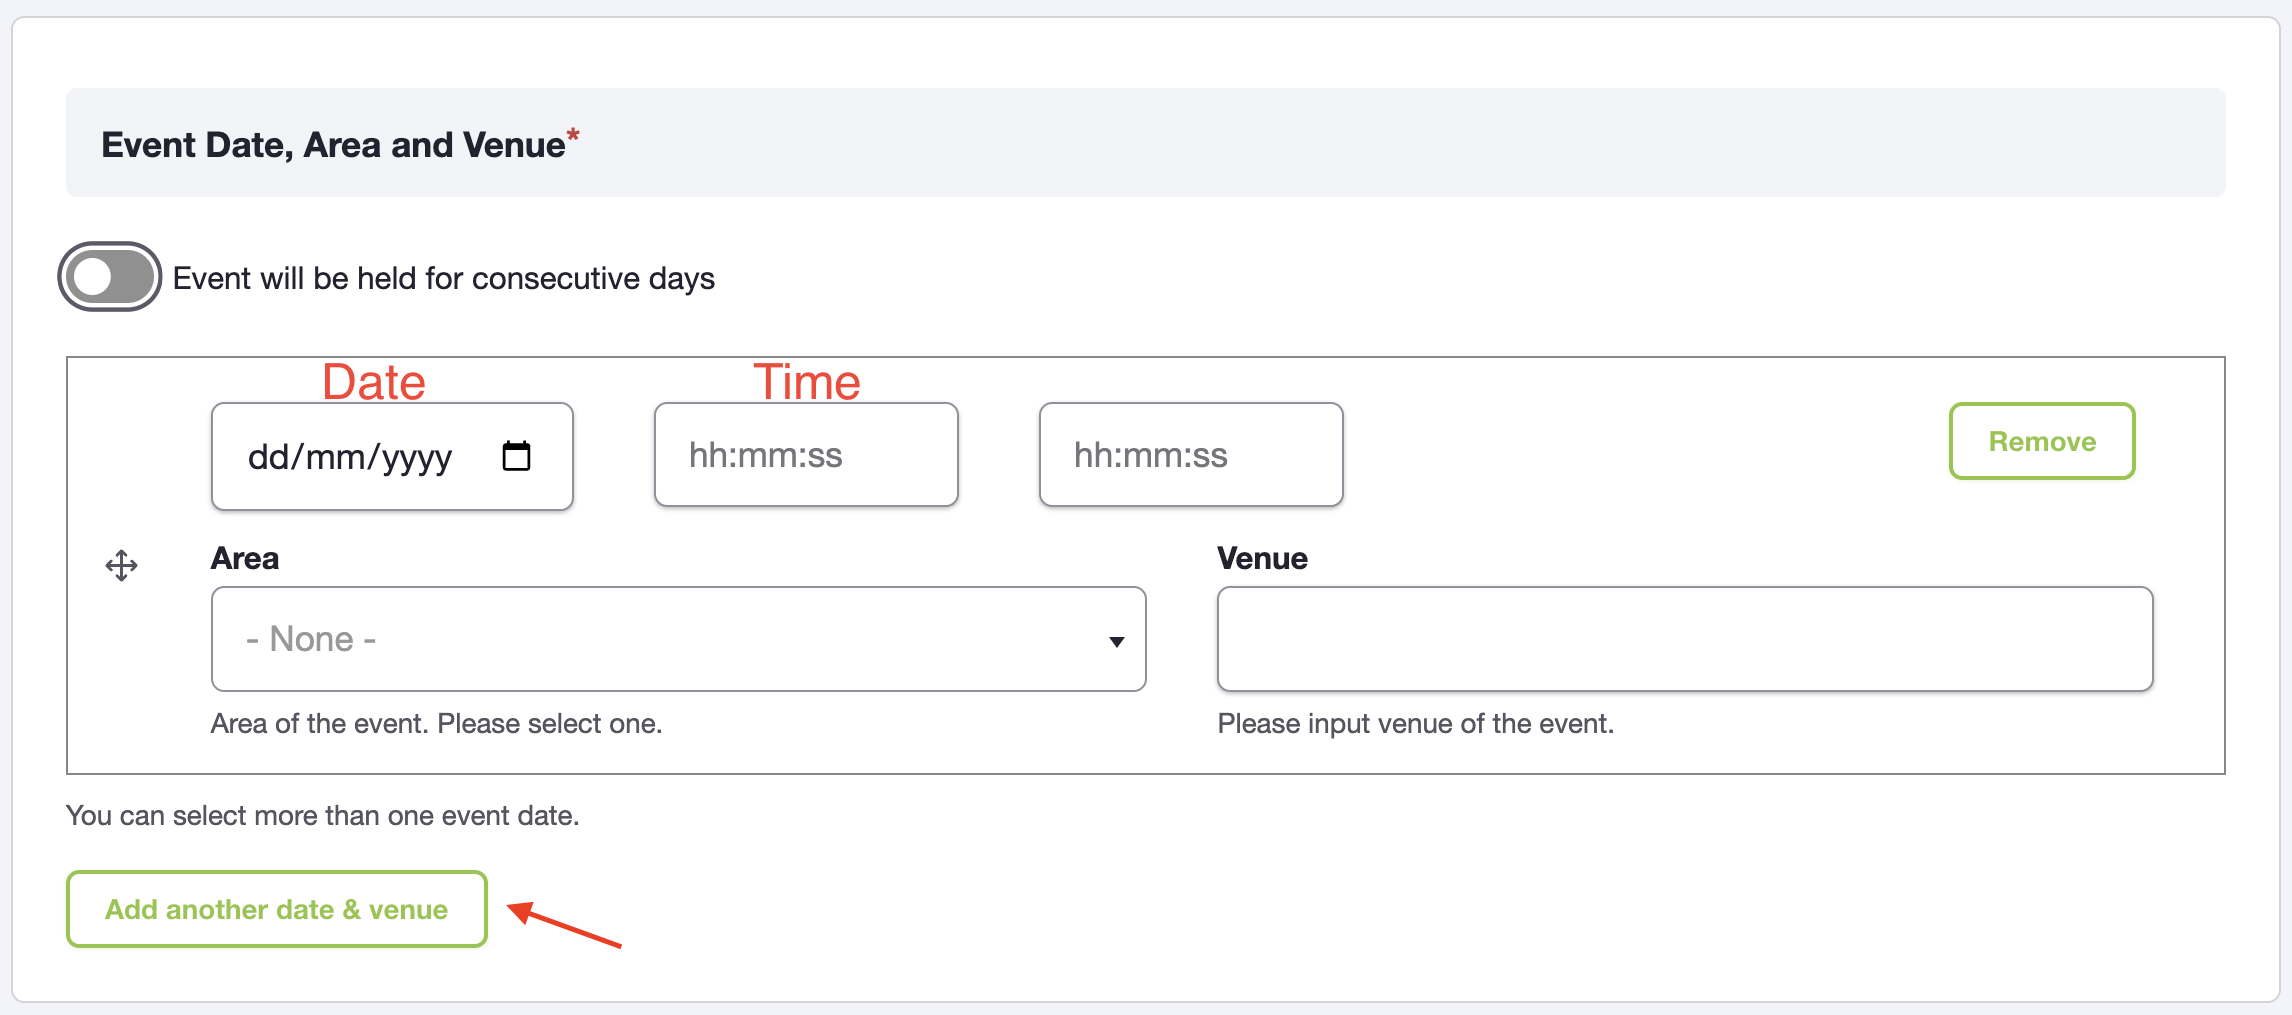
Select the event date, time and area, and input the venue. If the event will be held for non-consecutive days, you can click the “Add another date & venue” button and input the details again.
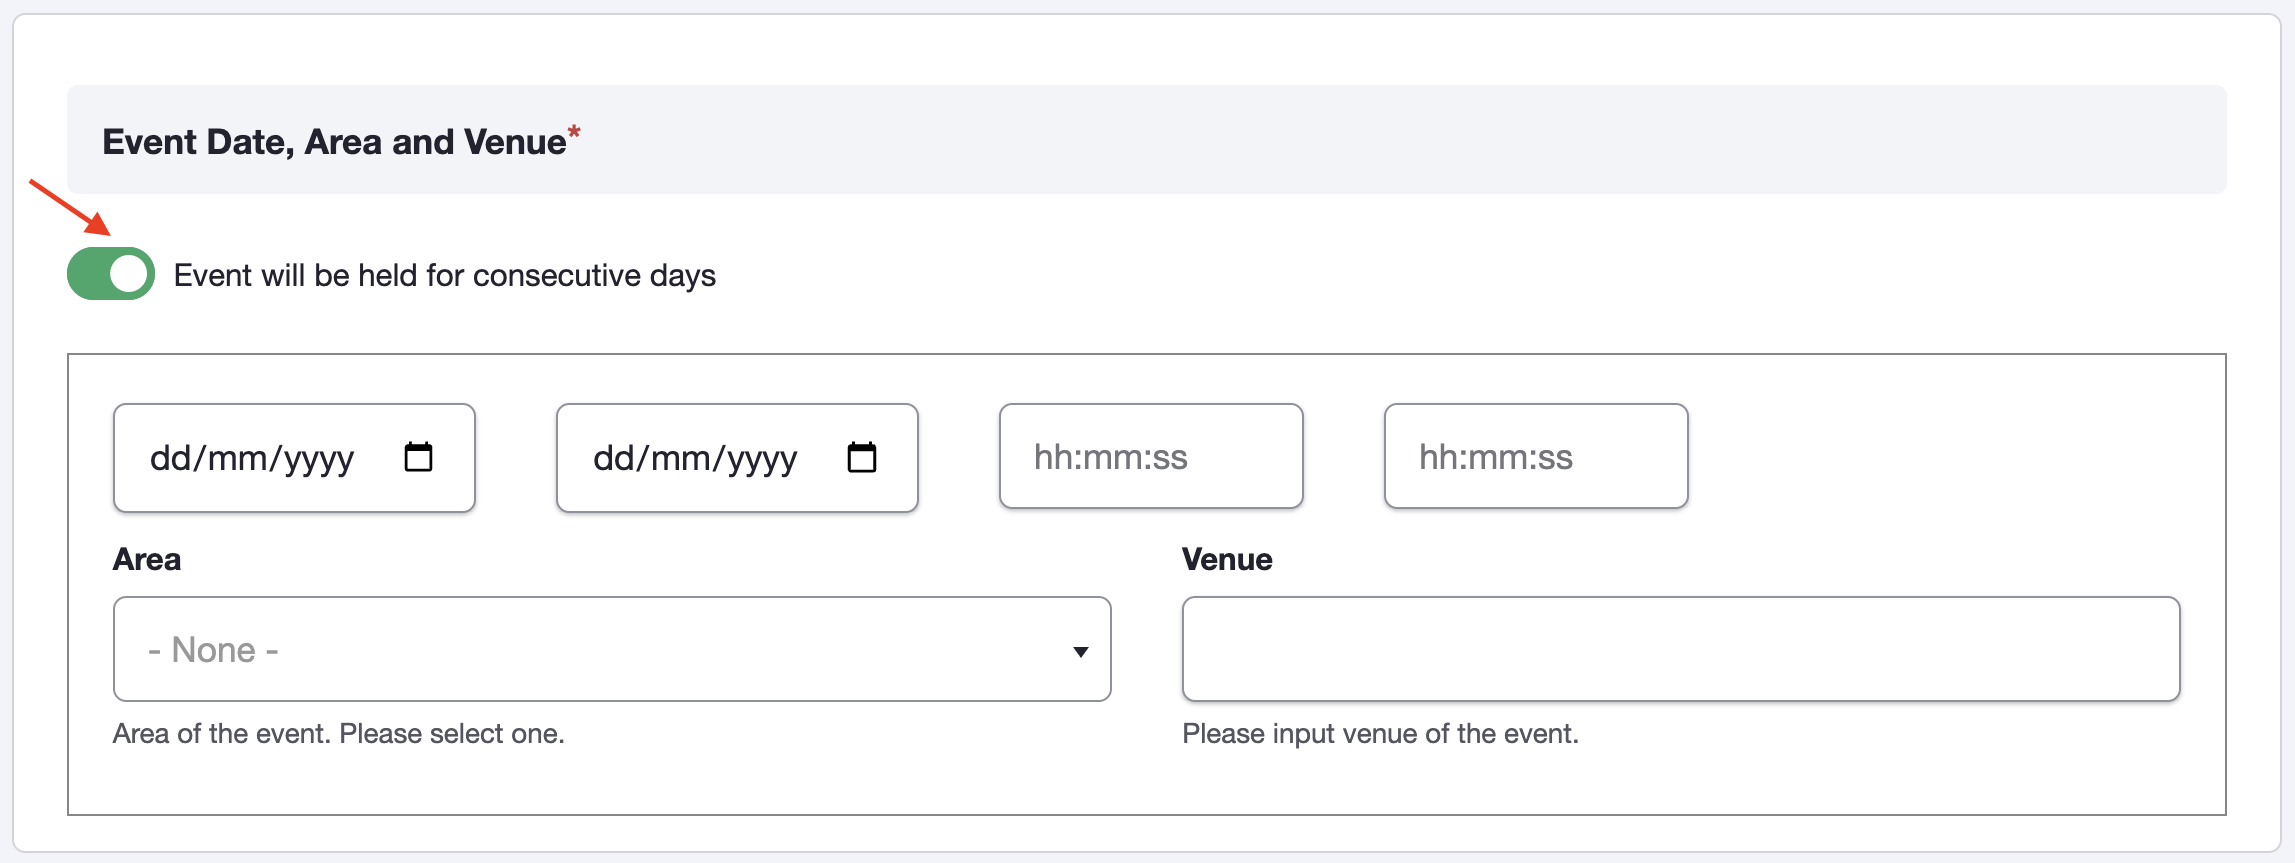
If the event will be held in a consecutive period, select “Event will be held for consecutive days”. Then, select the event starting and ending dates, time, area and input the venue.
The option of “Area” can allow visitors to filter the events by location in the “Events” webpage.

- Thumbnail / Header Image
A Thumbnail image is displayed in the story listing, while a header image is displayed at the top of each story article. The best fit image size for a thumbnail is 853 x 569 px, and 2500 x 703 px for a header image.
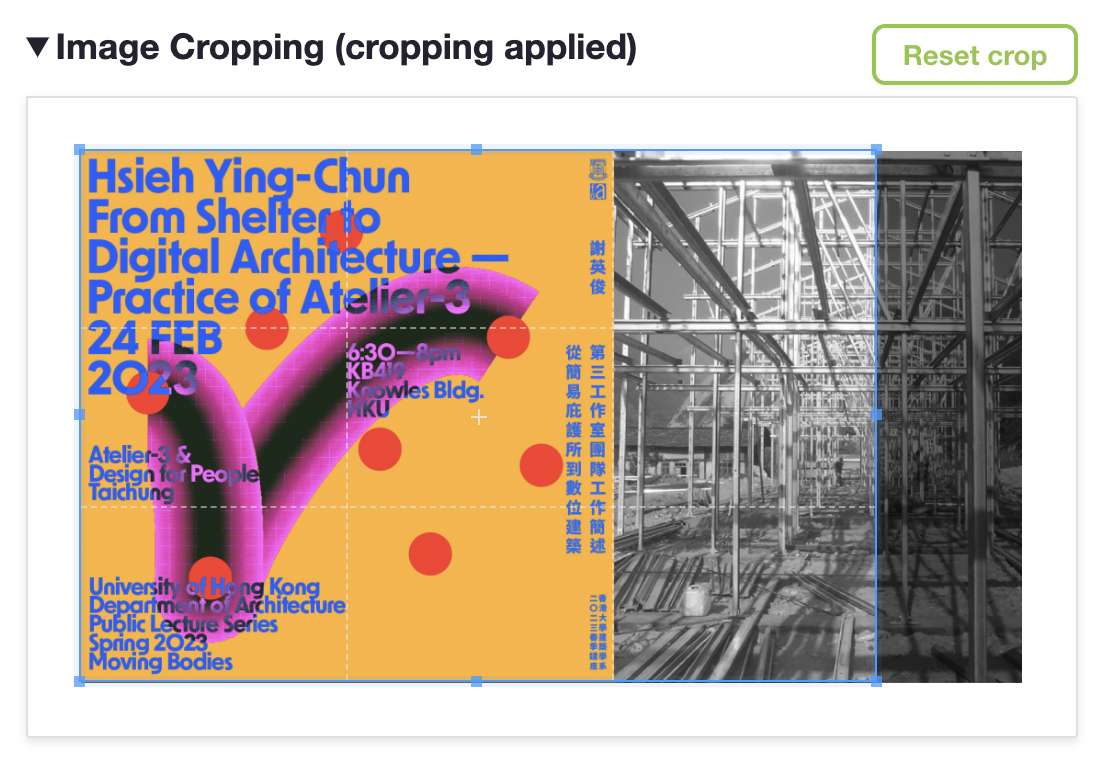
After uploading an image, please remember to specify the crop of the image by dragging the bounding box, or confirm the preset cropping area with a mouseclick. You also can reset the cropping area by clicking the "Reset crop" button on top right of the image.
Next
Step 4 - Body Content
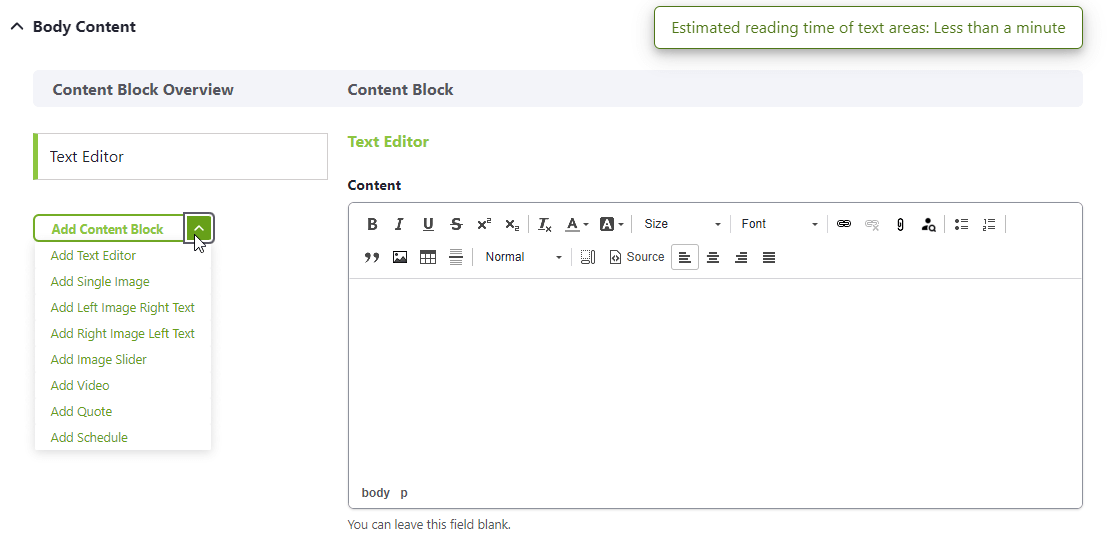
For Body Content, you can add different content blocks. The reading time of your content, which is shown on the top right corner of Body Content, will be estimated based on the amount of your texts.
Remarks: "Text Editor" is initialized by default. If your story content starts from other than text, just leaving it blank would be fine.
-
Add Schedule
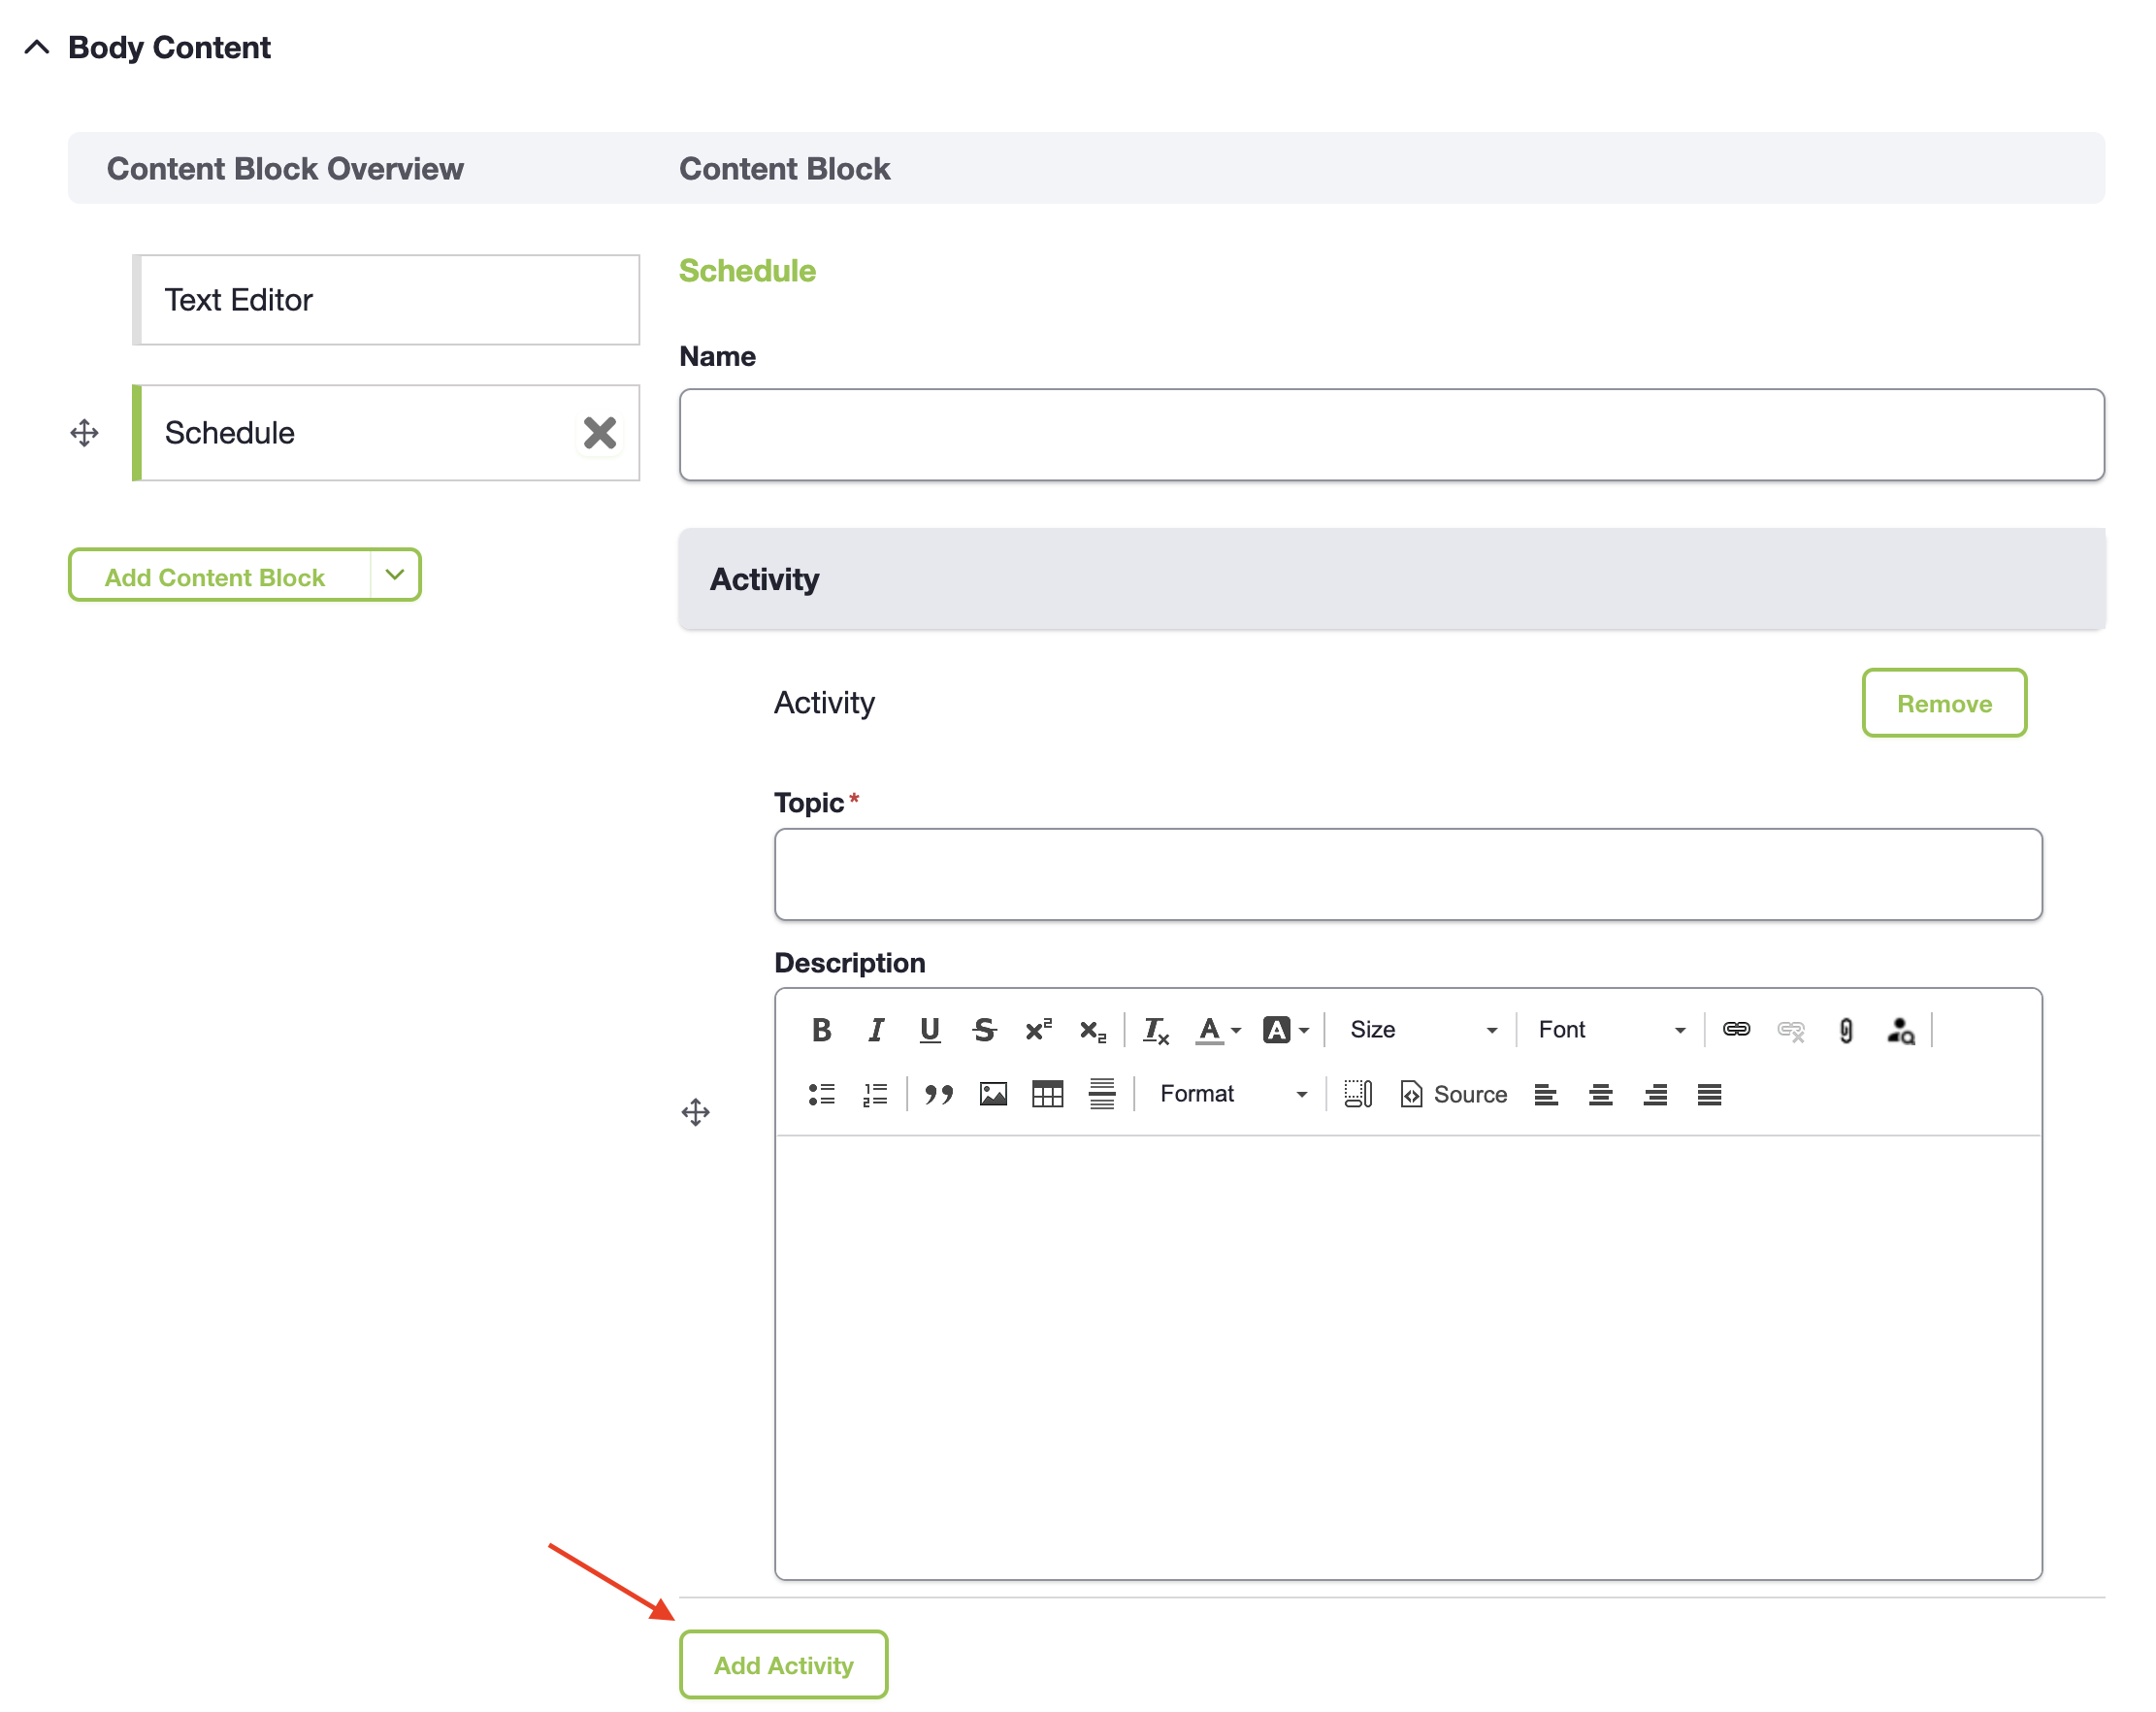
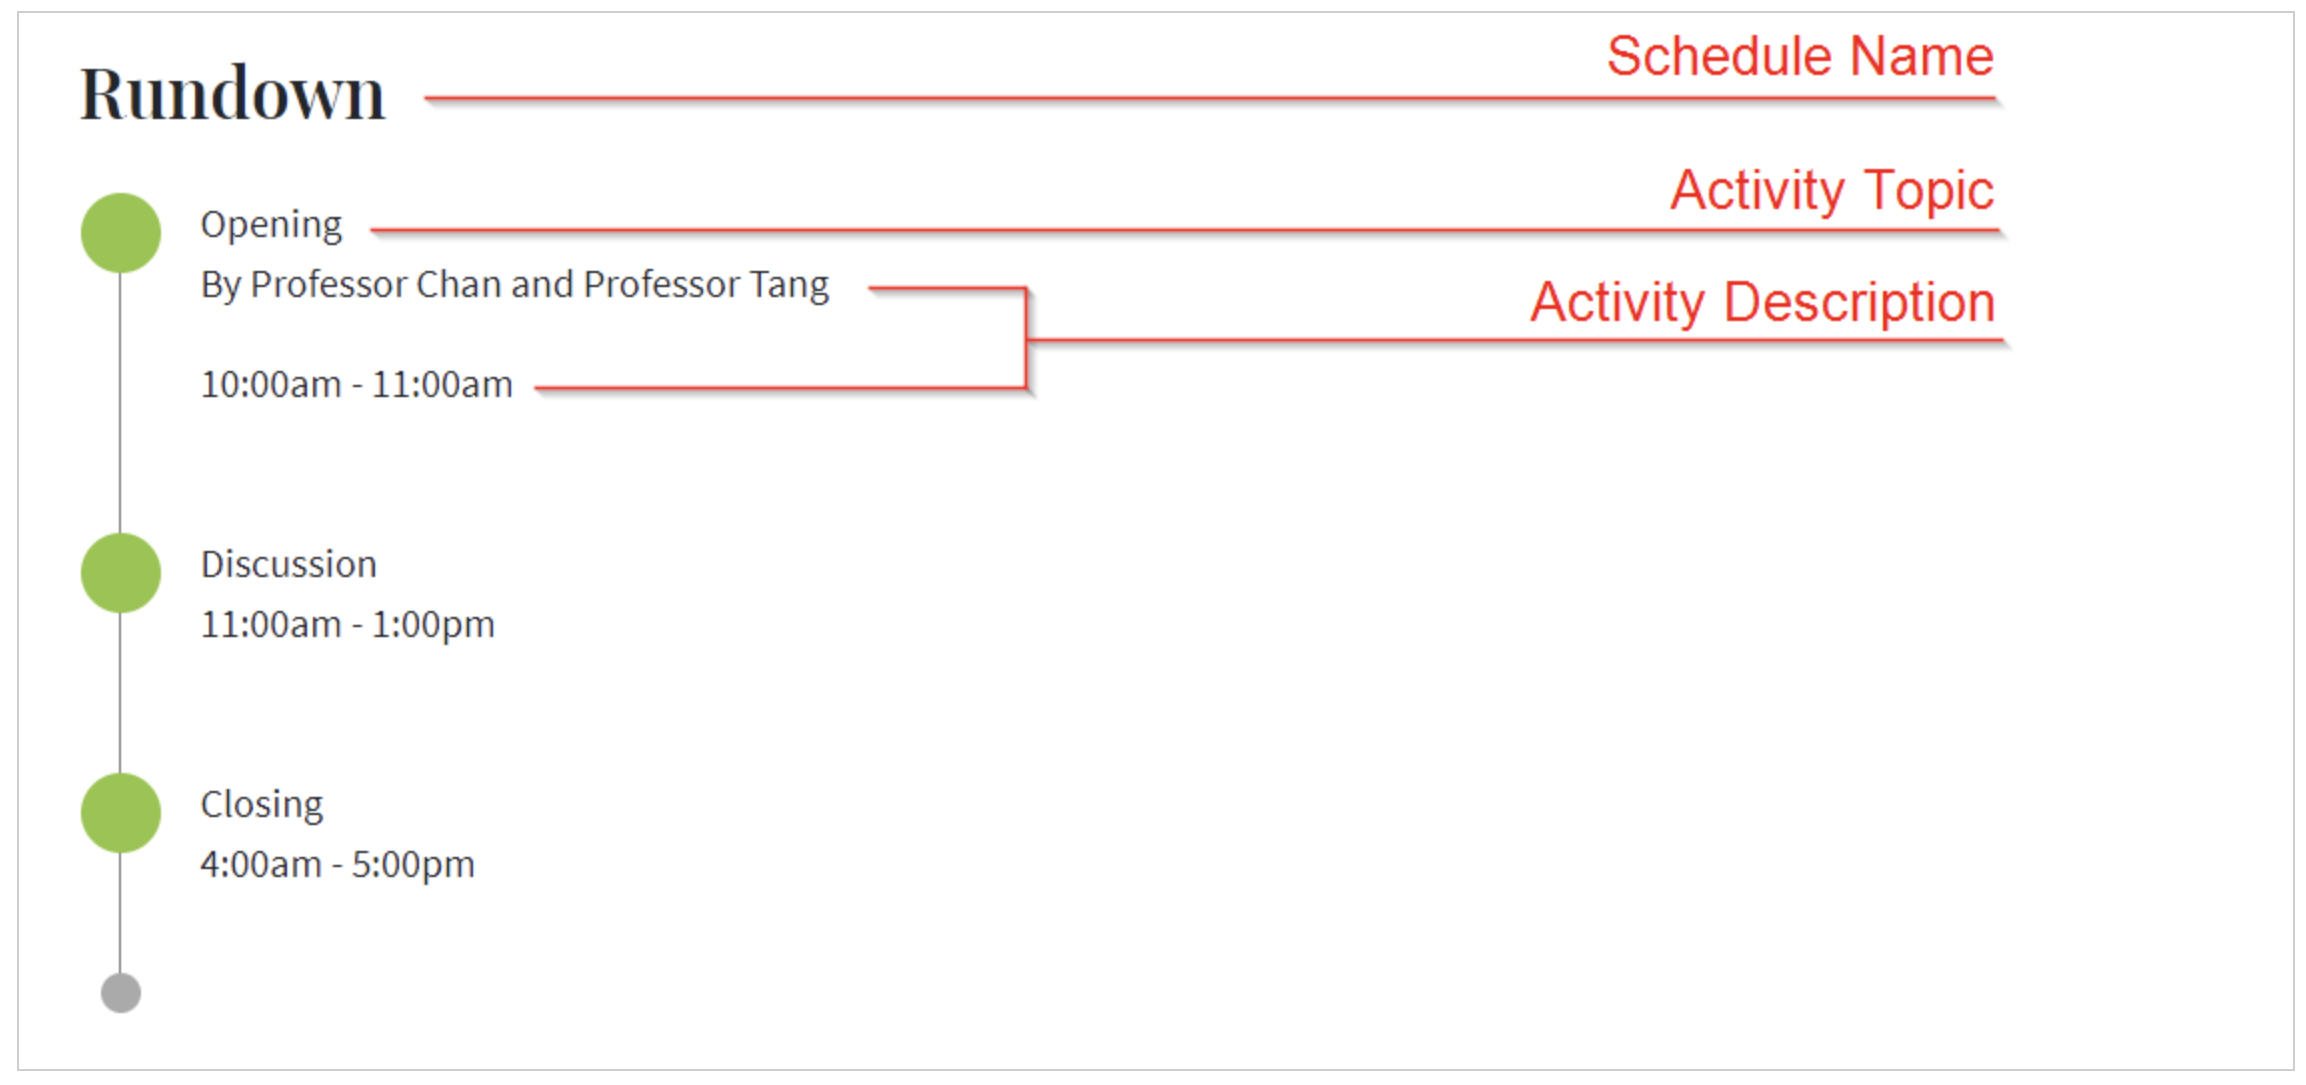
You can add the agenda of the event with the “Add Schedule” content block. Input the name of your agenda, topic and description. To add the next activity on the agenda, click the “Add Activity” button.
-
Add Text Editor
You can add text in “Text Editor” and style the font with the editor's rows of tools.
-
Add Link To an Expert
If the university academic featured in your story's text has an "Expert" page in the "Find an Expert" section of the website, you may add a link to their page to increase the interactivity of your story.
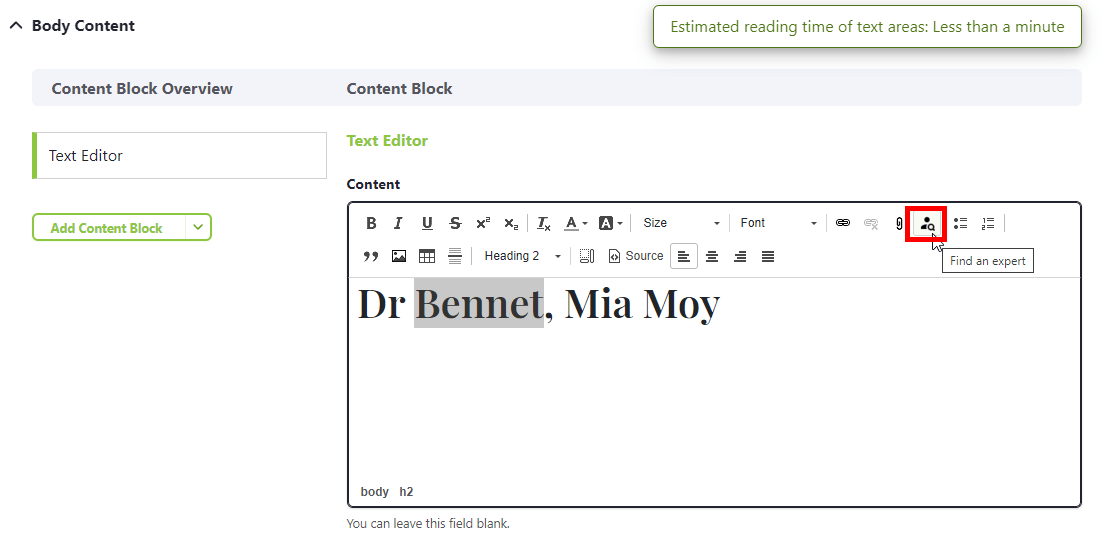
Highlight the Expert's name, then click on the icon above.
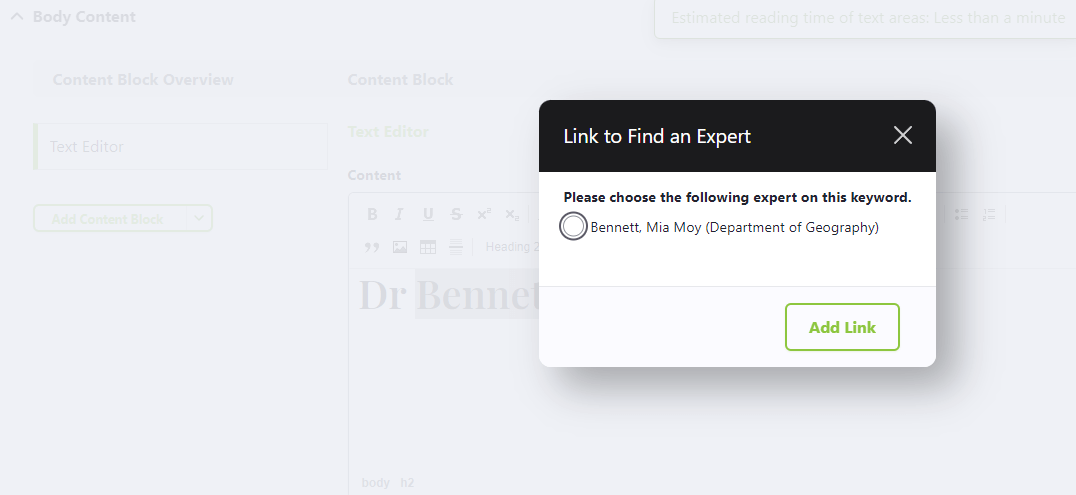
Choose the Expert, then click "Add Link".
-
Add Single Image
Images can be uploaded as a single image which will autofit to content area width.
-
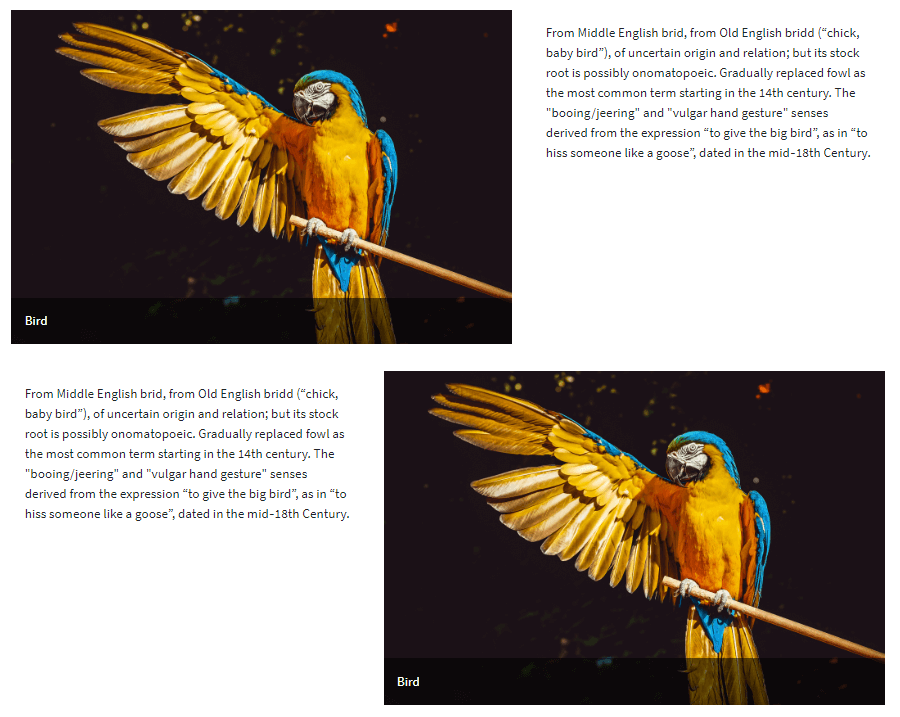
Left Image Right Text / Right Image Left Text
Images can be aligned to the left or right of some text. Remember to add a caption for any images uploaded.
-
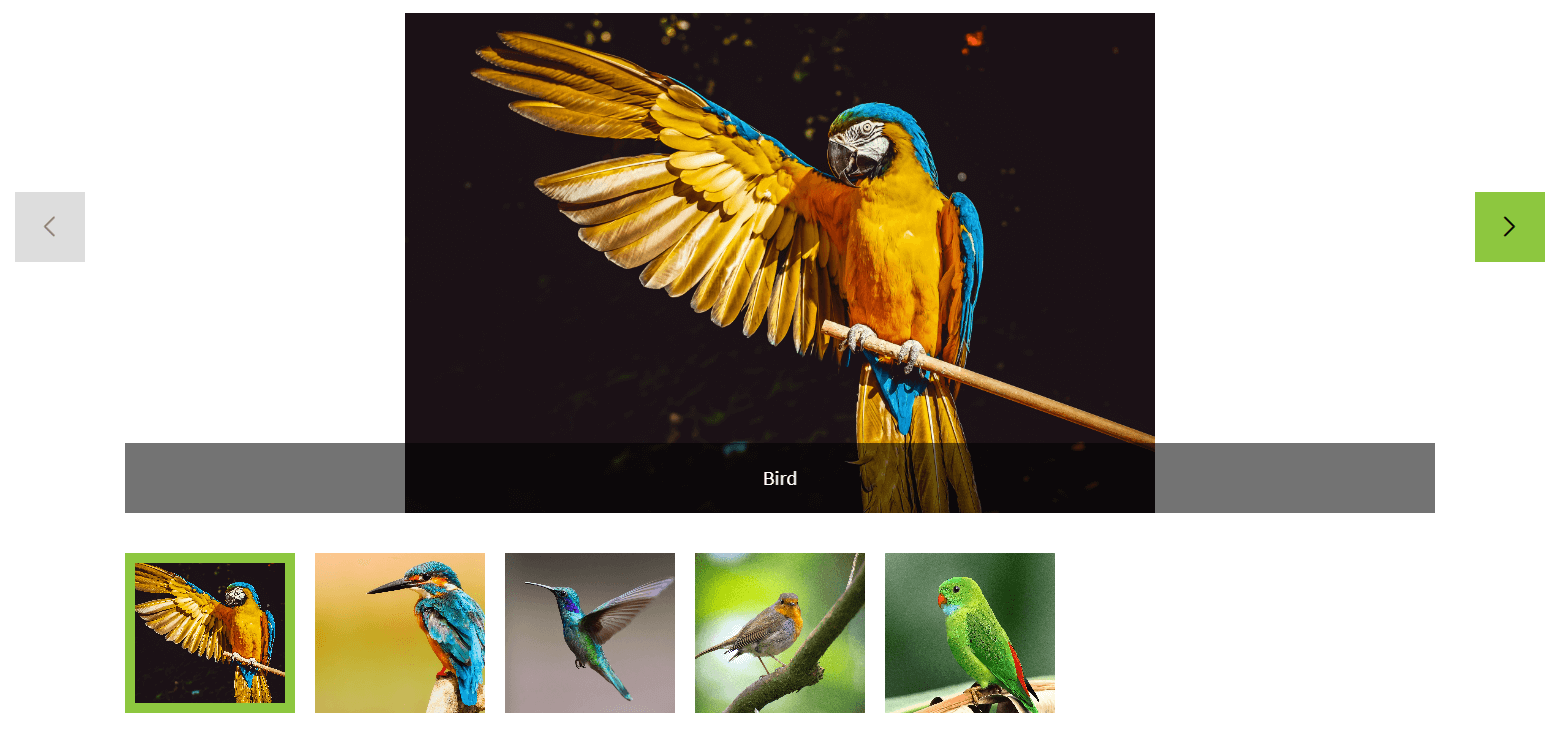
Add Image Slider
You must add at least 2 images in an image slider, each with a caption.
-
Add Video
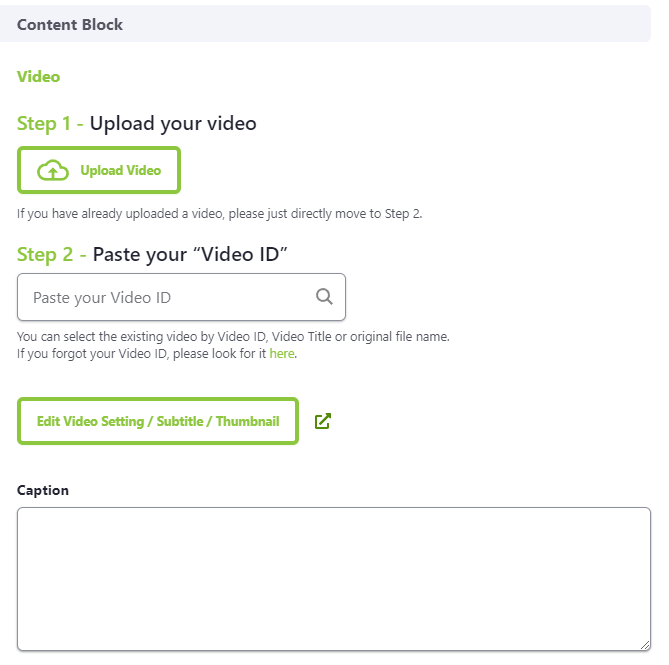
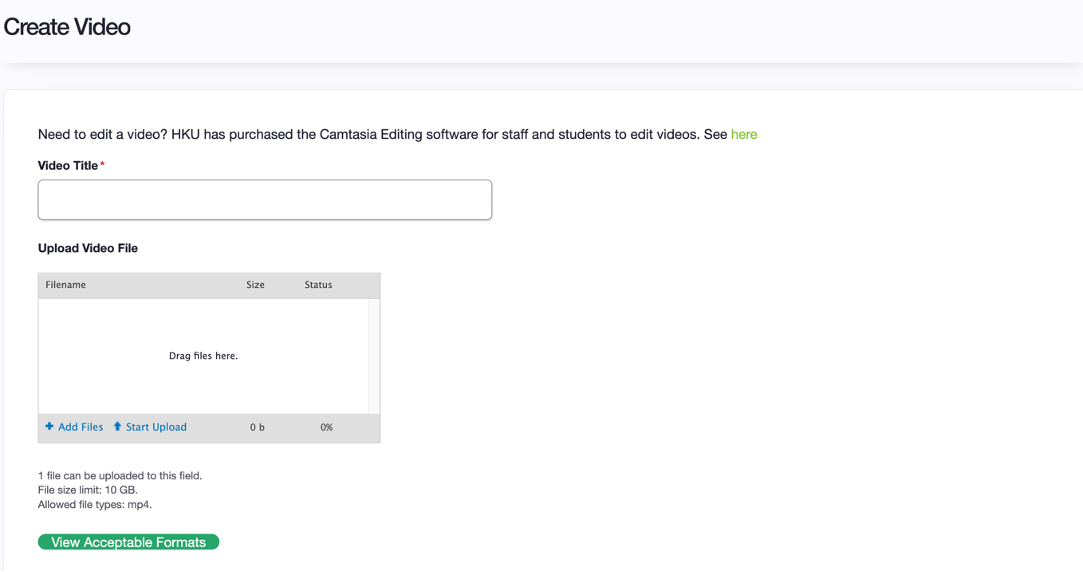
If you want to upload a new video, please click the “Upload Video” button. Then fill in the video title and upload your video file in the pop up window titled, "Create Video". When the upload bar indicates 100%, your video file is successfully uploaded. You may upload a Thumbnail for your video at this stage or choose one of the generated thumbnails that will appear after your video has rendered.
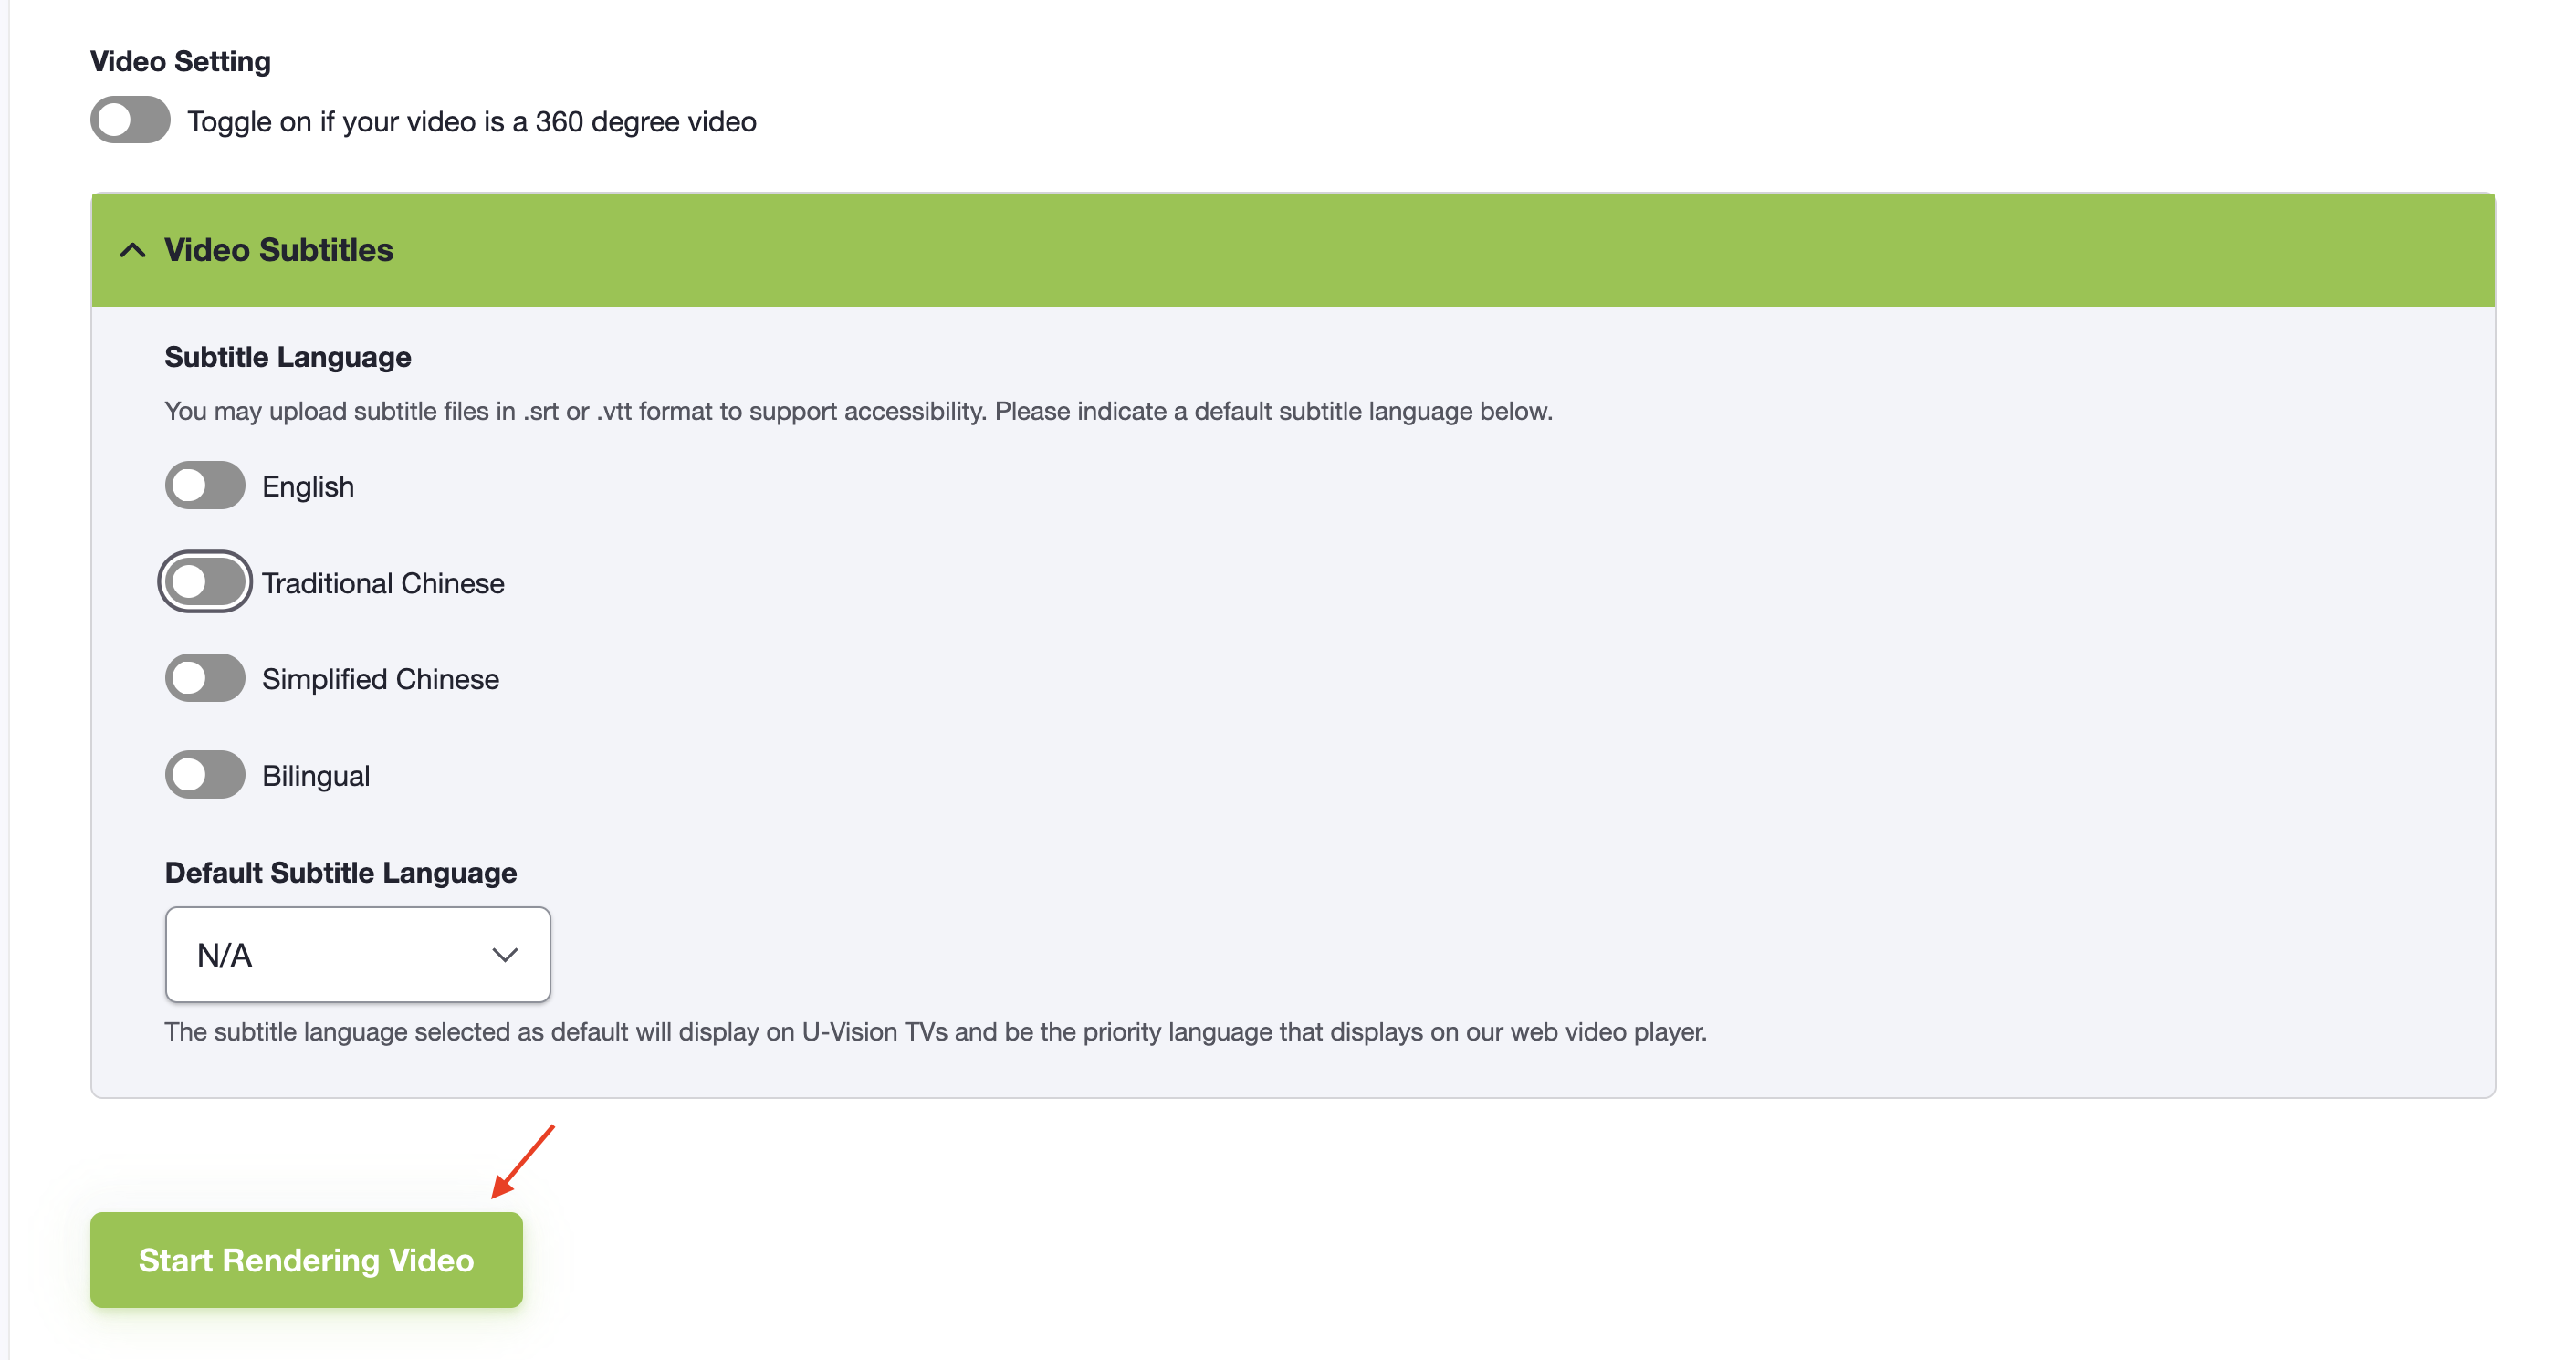
After uploading the video file, click the "Start Rendering Video" button. The video ID will be auto-generated and pasted in the “Paste your Video ID” box.
If you already have an uploaded video, please skip Step 1 and proceed to Step 2 "Paste your Video ID". You can type your video ID or search the video by inputting part of your video title, original video file name or video ID.
Remarks: The rendering time depends on the number of videos pending for rendering and the video file size.
Next
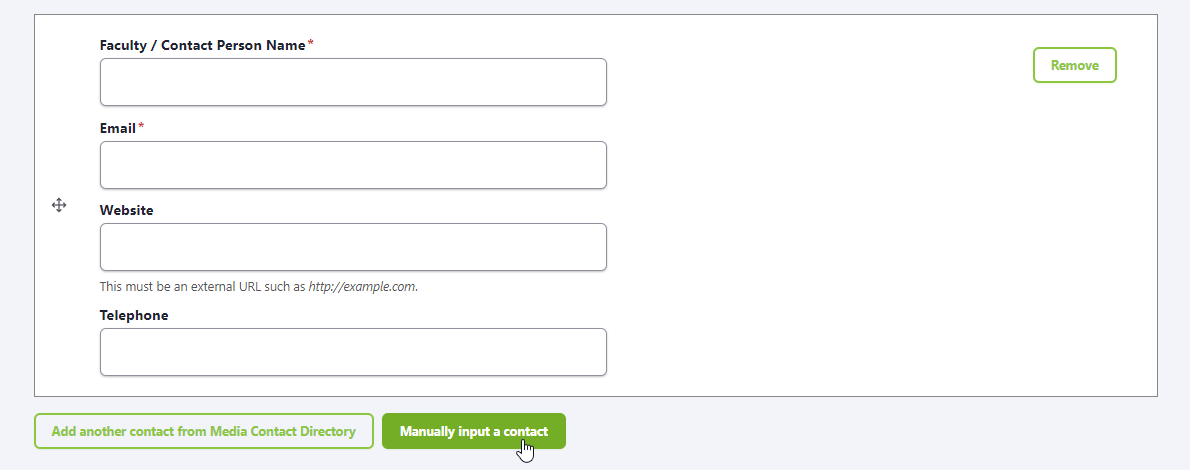
Step 6 - Contacts
Should you wish to leave a contact for people to communicate with if they have any questions regarding your event, one or more contacts can be added by the following two actions:
-
Add a contact from the Media Contact Directory
You can search for the contact by inputting the name of contact person, faculty or unit.

Next
Step 7 - Save Setting
Please select to agree to the Terms of Use. Then select the action as "Save draft" or "Submit story". You can leave any remarks for your record when saving as a draft, or leave a message for the approver when submitting the story. When finished, click the "Confirm" button.
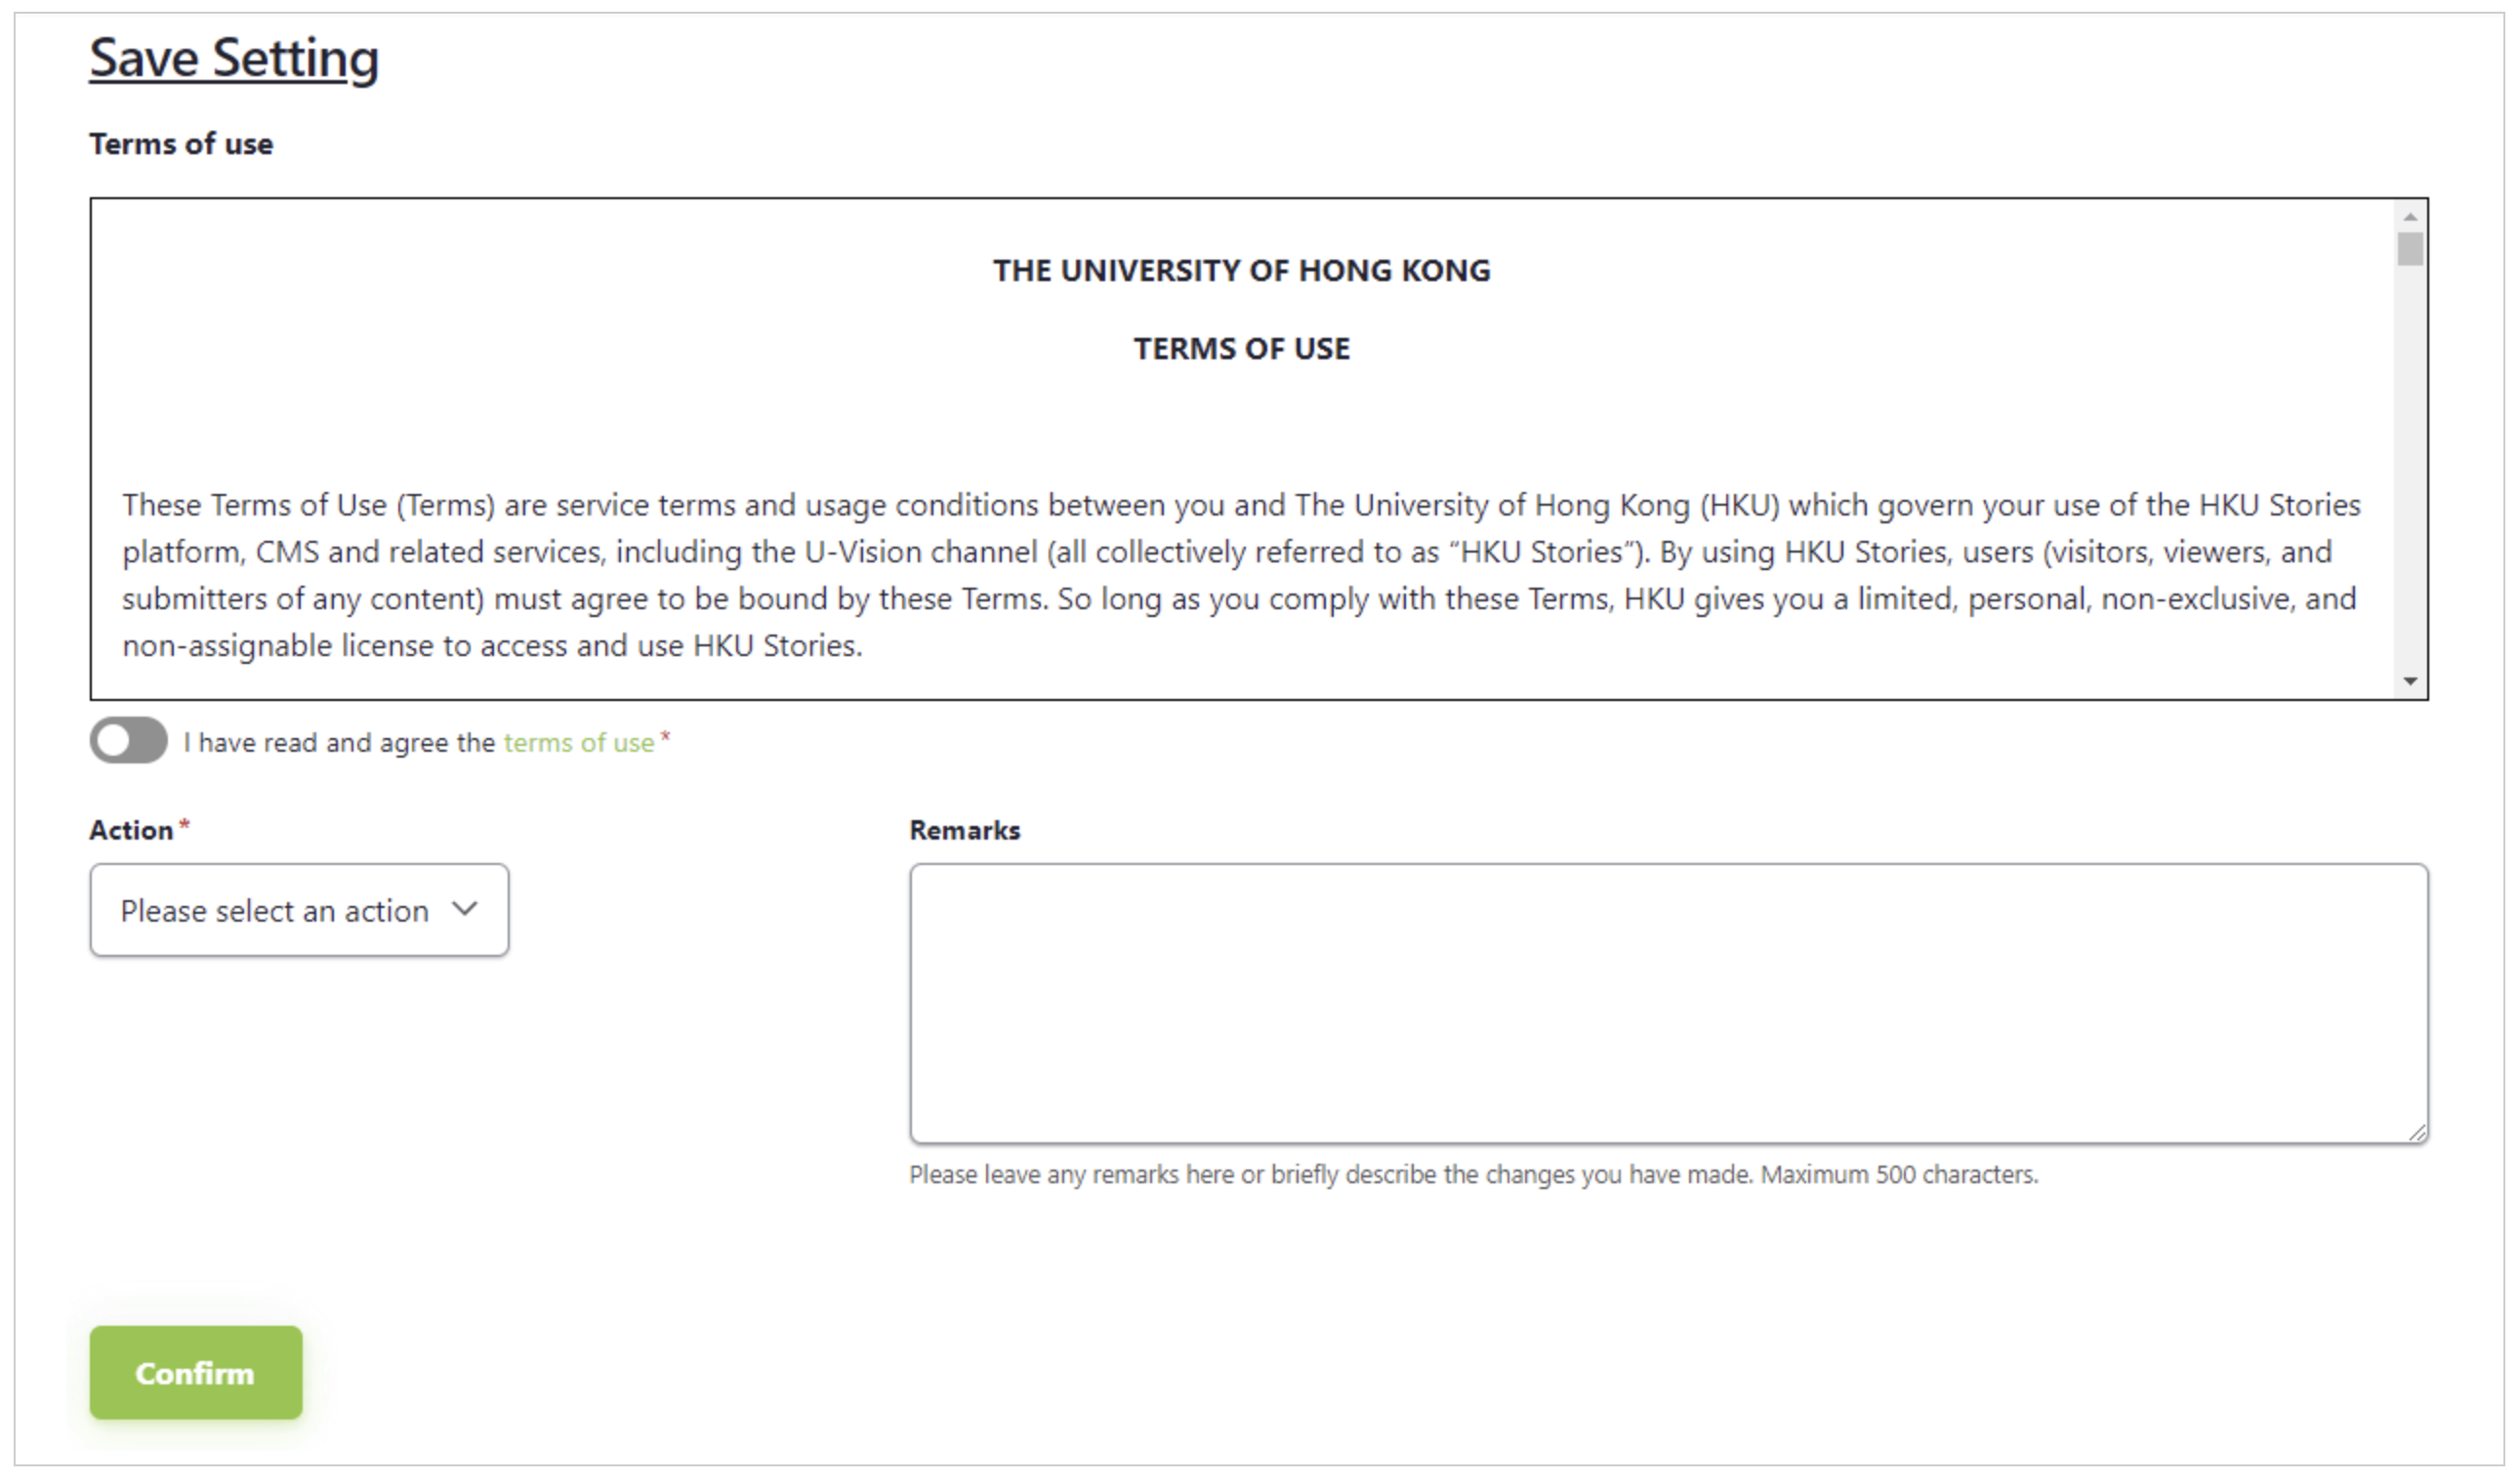
After completing all these steps, you are good to go! The story will be published on the HKU website after approval.
Remarks: It may take approximately 7 working days for our team to process your submission. We will send you an email message when it has been approved.
Next
Step 8 - Post-event Promotion
After the event has been held, you can modify the same Event Story and add post-event highlights, such as photos, videos and text summary for the purpose of post-event promotion.
Click “My Stories” in the Dashboard page, search the past Event Story by the ID or the story title. You can also filter by story type and select “Event Story” to view all the Event Stories that you have submitted.


Then, click the “Edit” button to modify the Event Story.

In the “Save Setting” section, select the action as “Withdraw" and input the withdrawn reason. After that, click “Confirm”.
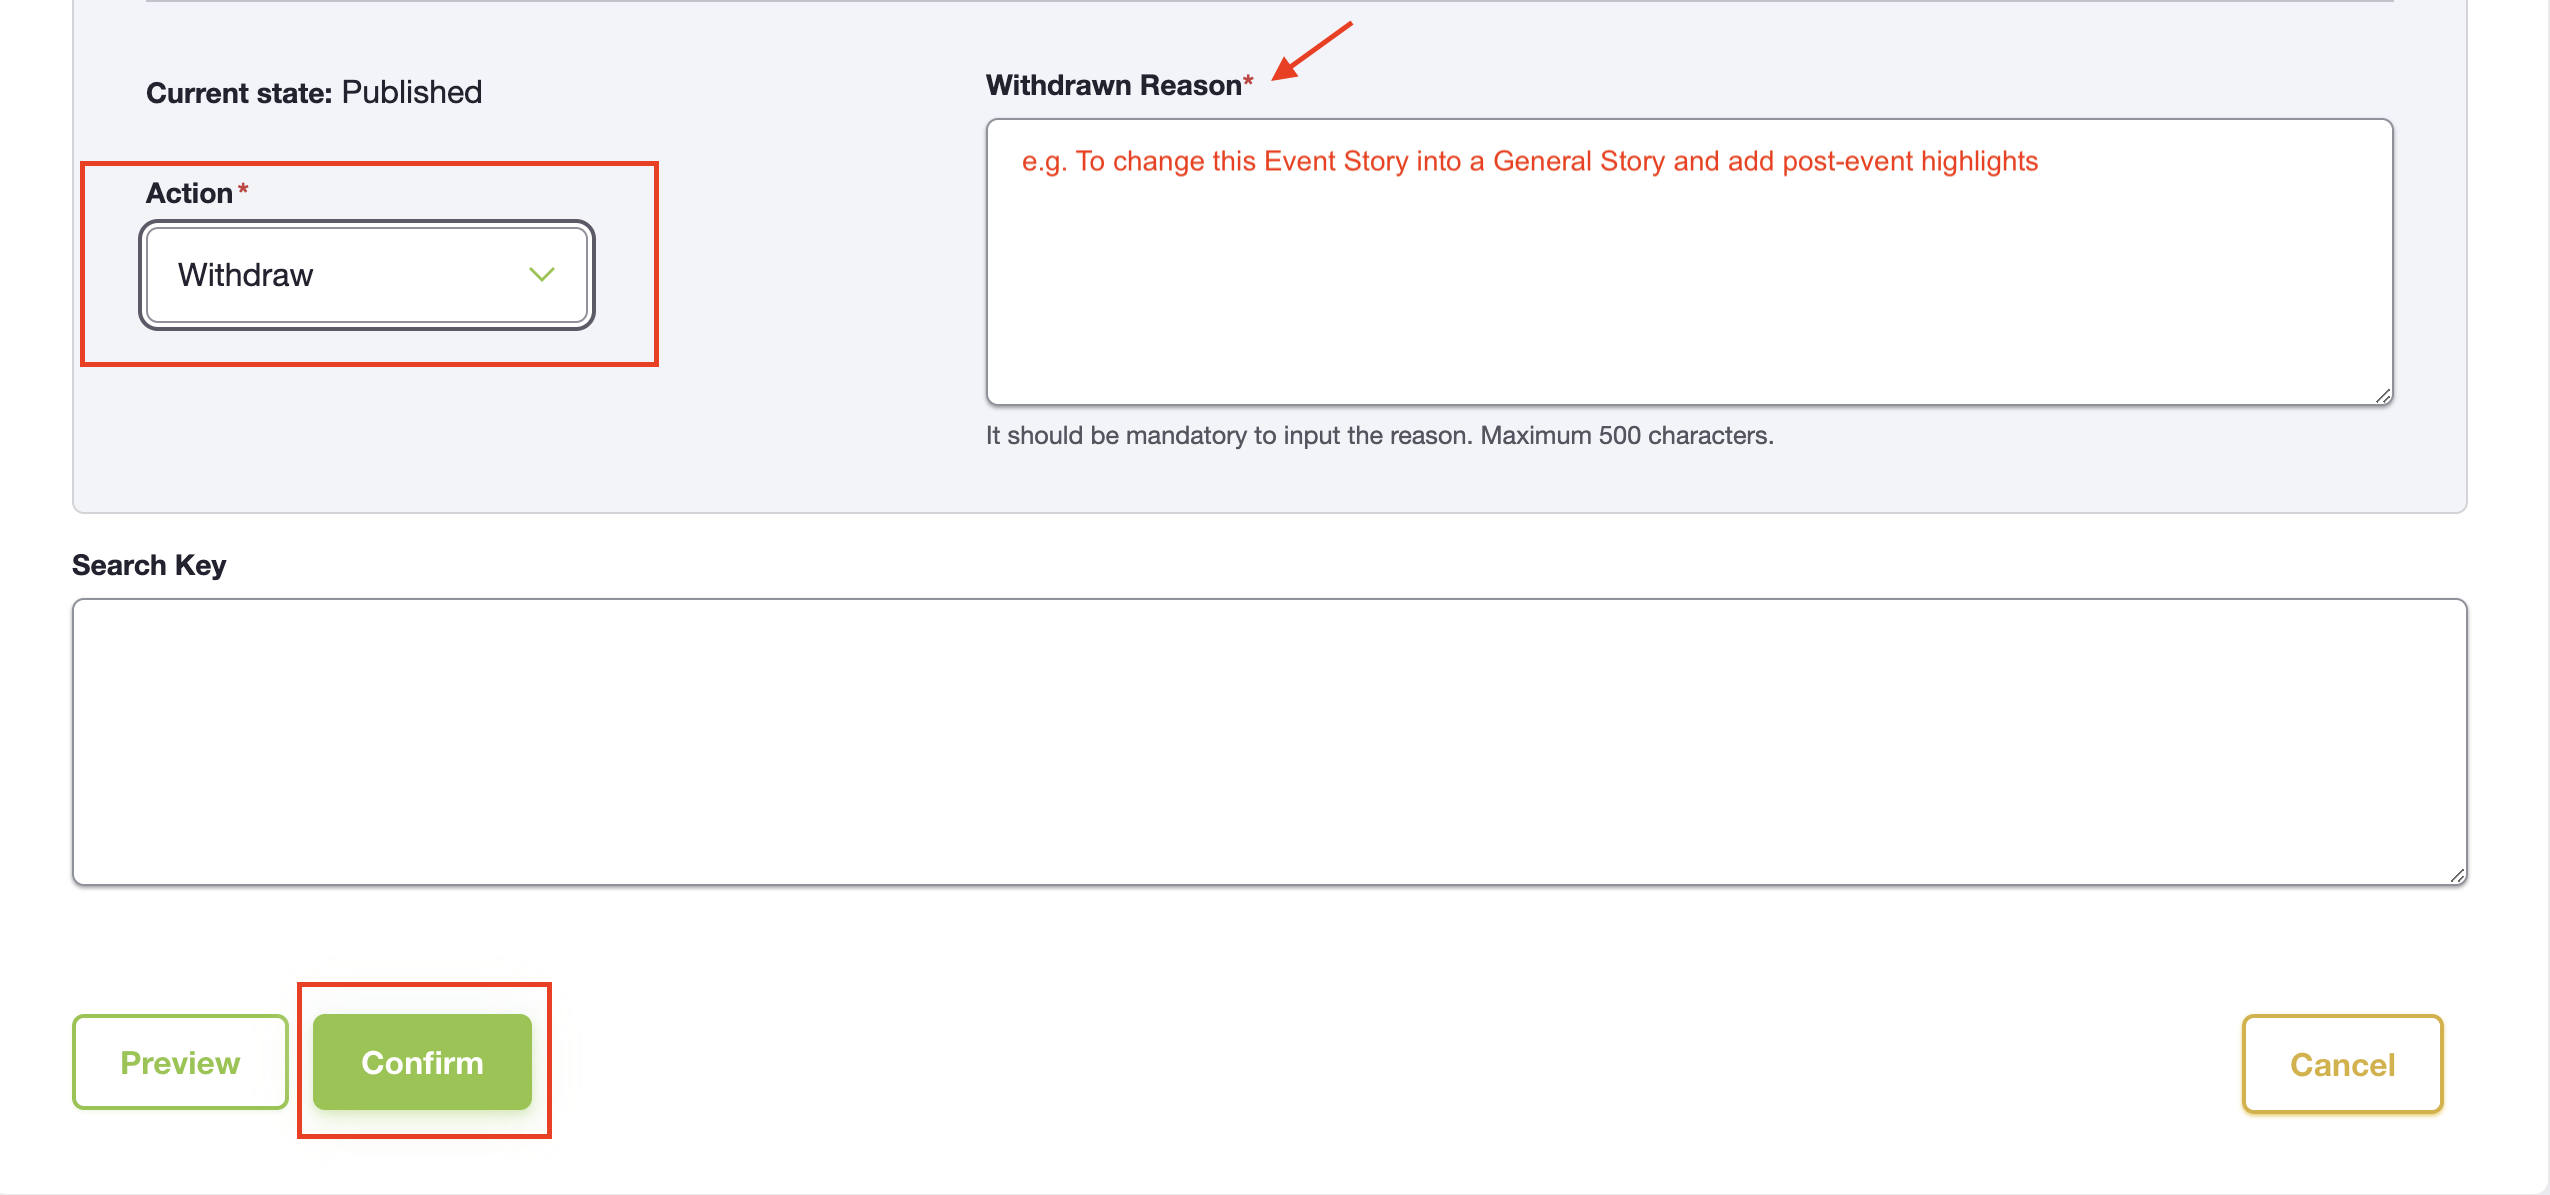
After withdrawing the Event Story, click the “Edit” button again to change it into a General Story.

Change the story type from “Event Story” to “General Story” and modify the story so that it would appeal as a post-event coverage. After the content has been updated and the new information is approved, it will be listed in the “Stories” webpage.


You can edit the body content by adding image slider, video, quote, etc. of the event held. For the usage of different content blocks, please refer to “Step 4 – Body Content” in this guide.
Back to Step 4 - Body Content
After completing the update, select the action as “Submit story” and click “Confirm” to re-submit the story for approval.

